In this blog I am going to show you how you can create your first flutter app in minutes using your terminal.
Prerequisites : laptop and internet.
Softwares you will need
Android Emulator (Make sure you download the required SDKs too) or IOS Simulator
Basic terminal or you can use other terminal
Note : If you are using macintosh then you need to install Xcode.
After you are done with the flutter installation you can run flutter doctor to check if everything is working properly or not.
Once you are sure that everything is working properly run the command clear which will clear your terminal.
Creating the app
Step 1 :
Open your terminal and run pwd to see where you are and then change directory to home directory. You can do that by running the command cd [name_of_your_directory] . If you want to move back to previous directory then you can run cd ..
Step 2 :
Do a ls to see all the files in the current directory
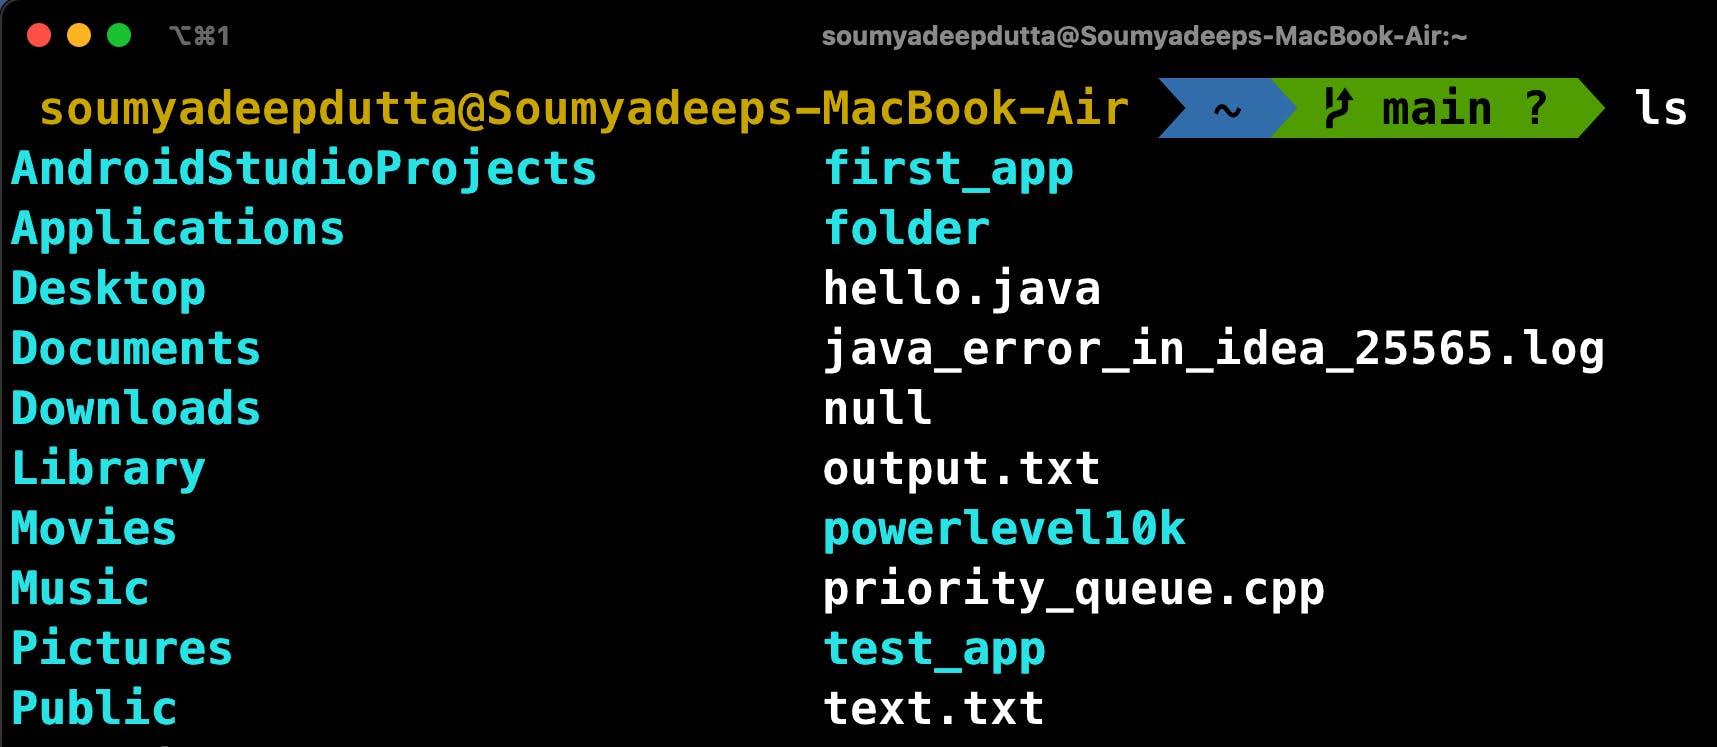
Step 3 :
Now, just select where you want to place your project. After this, run the command flutter create [project_name] and hit enter.
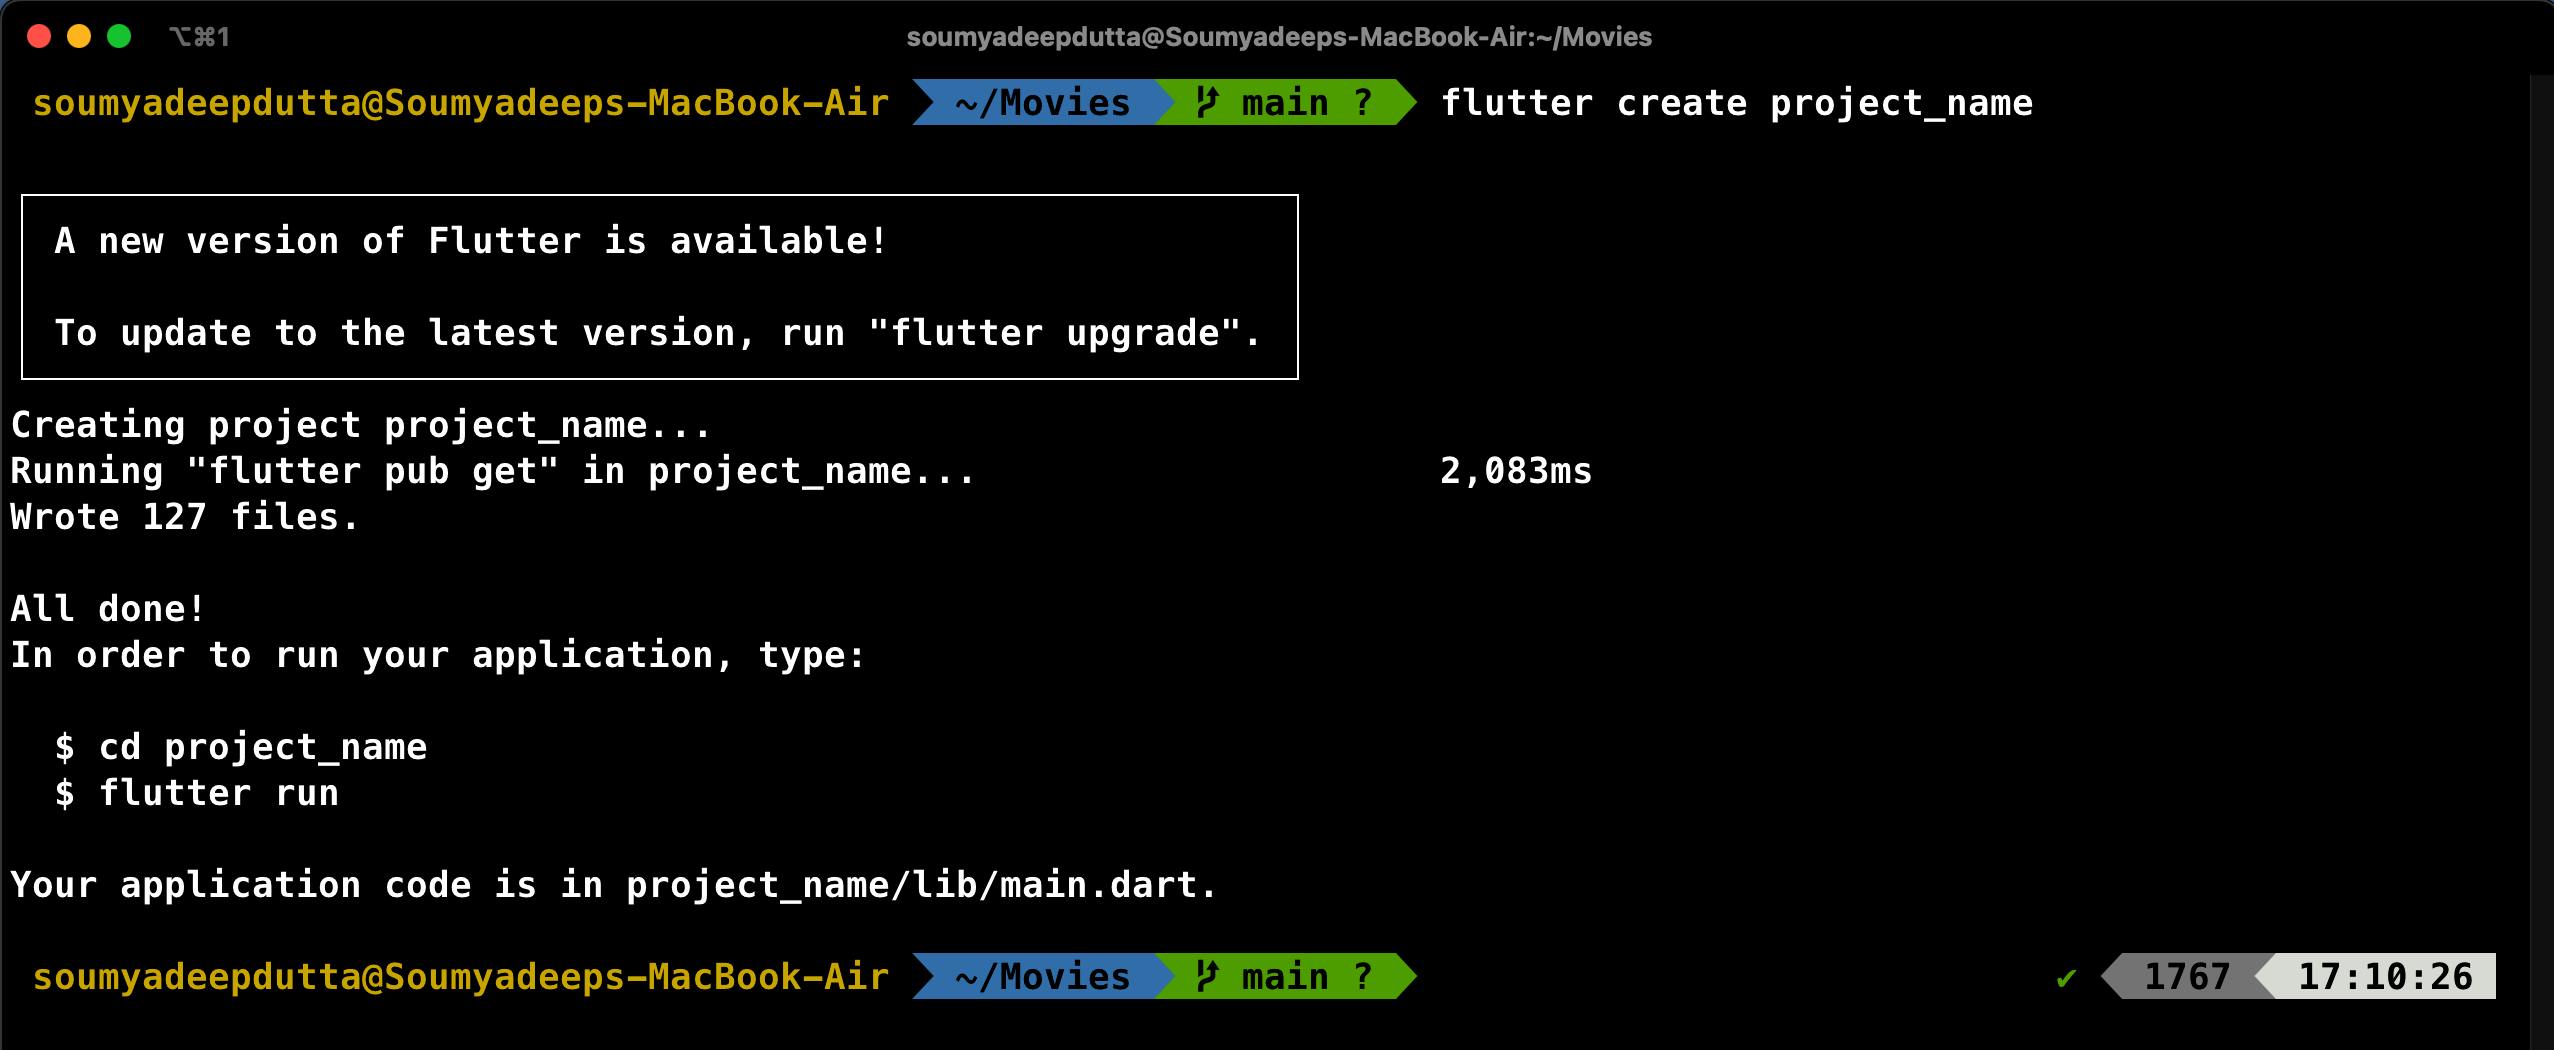
Here, as you can see the flutter application is being created.
Step 4 :
Now, you need to go inside the application which you created just now. In order to do that just run cd [project_name] and hit enter. After you have done so, you can run ls and see whats inside the application folder.

Step 5 :
Once you are inside the application you can open it directly using VS Code. Just run code . and it will open the files in VS Code.
Note : If this command doesn't work that means the option to directly open VS Code from terminal is turned off. To enable this refer to this link
Step 6 :
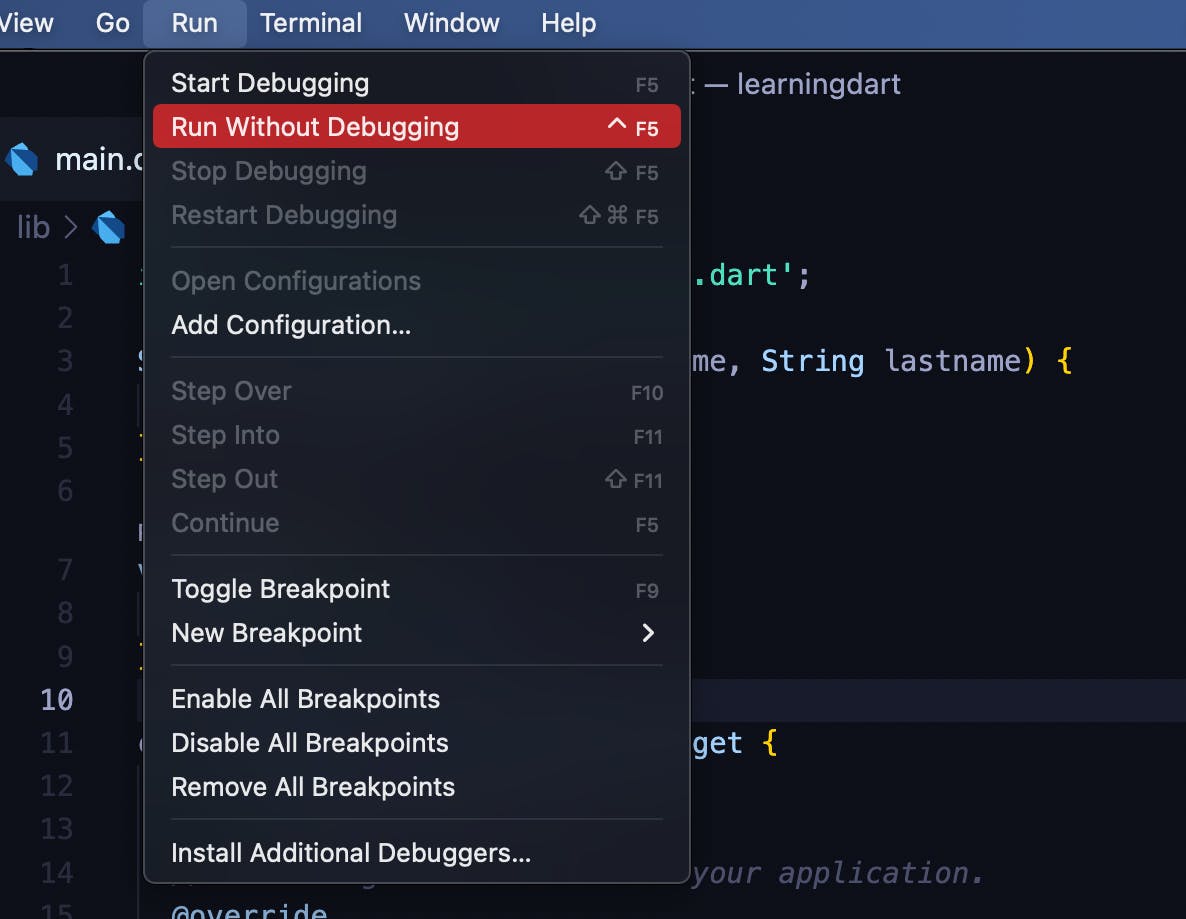
Now you can just type flutter run and then the application will start.
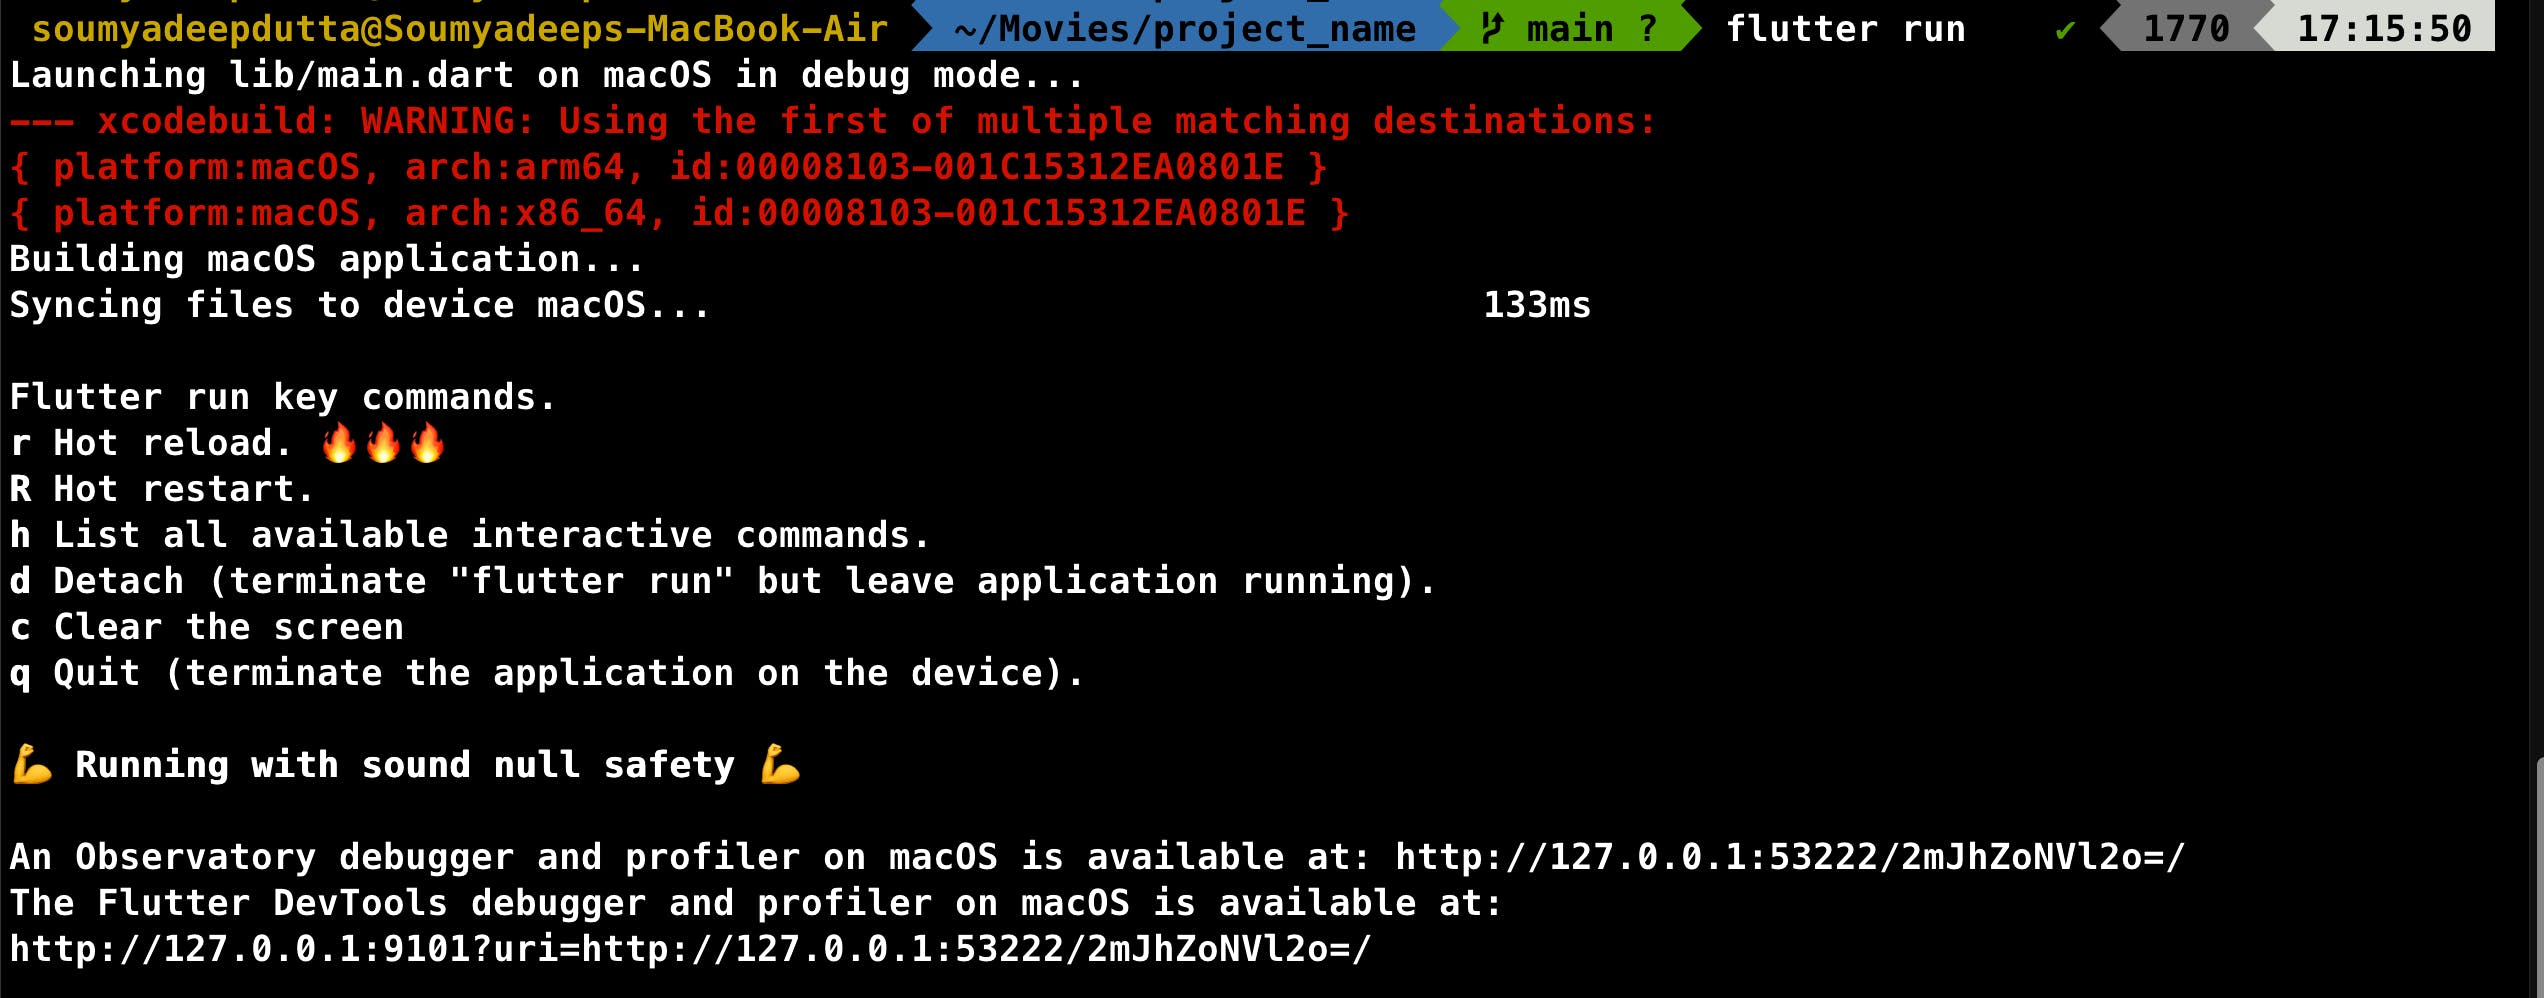
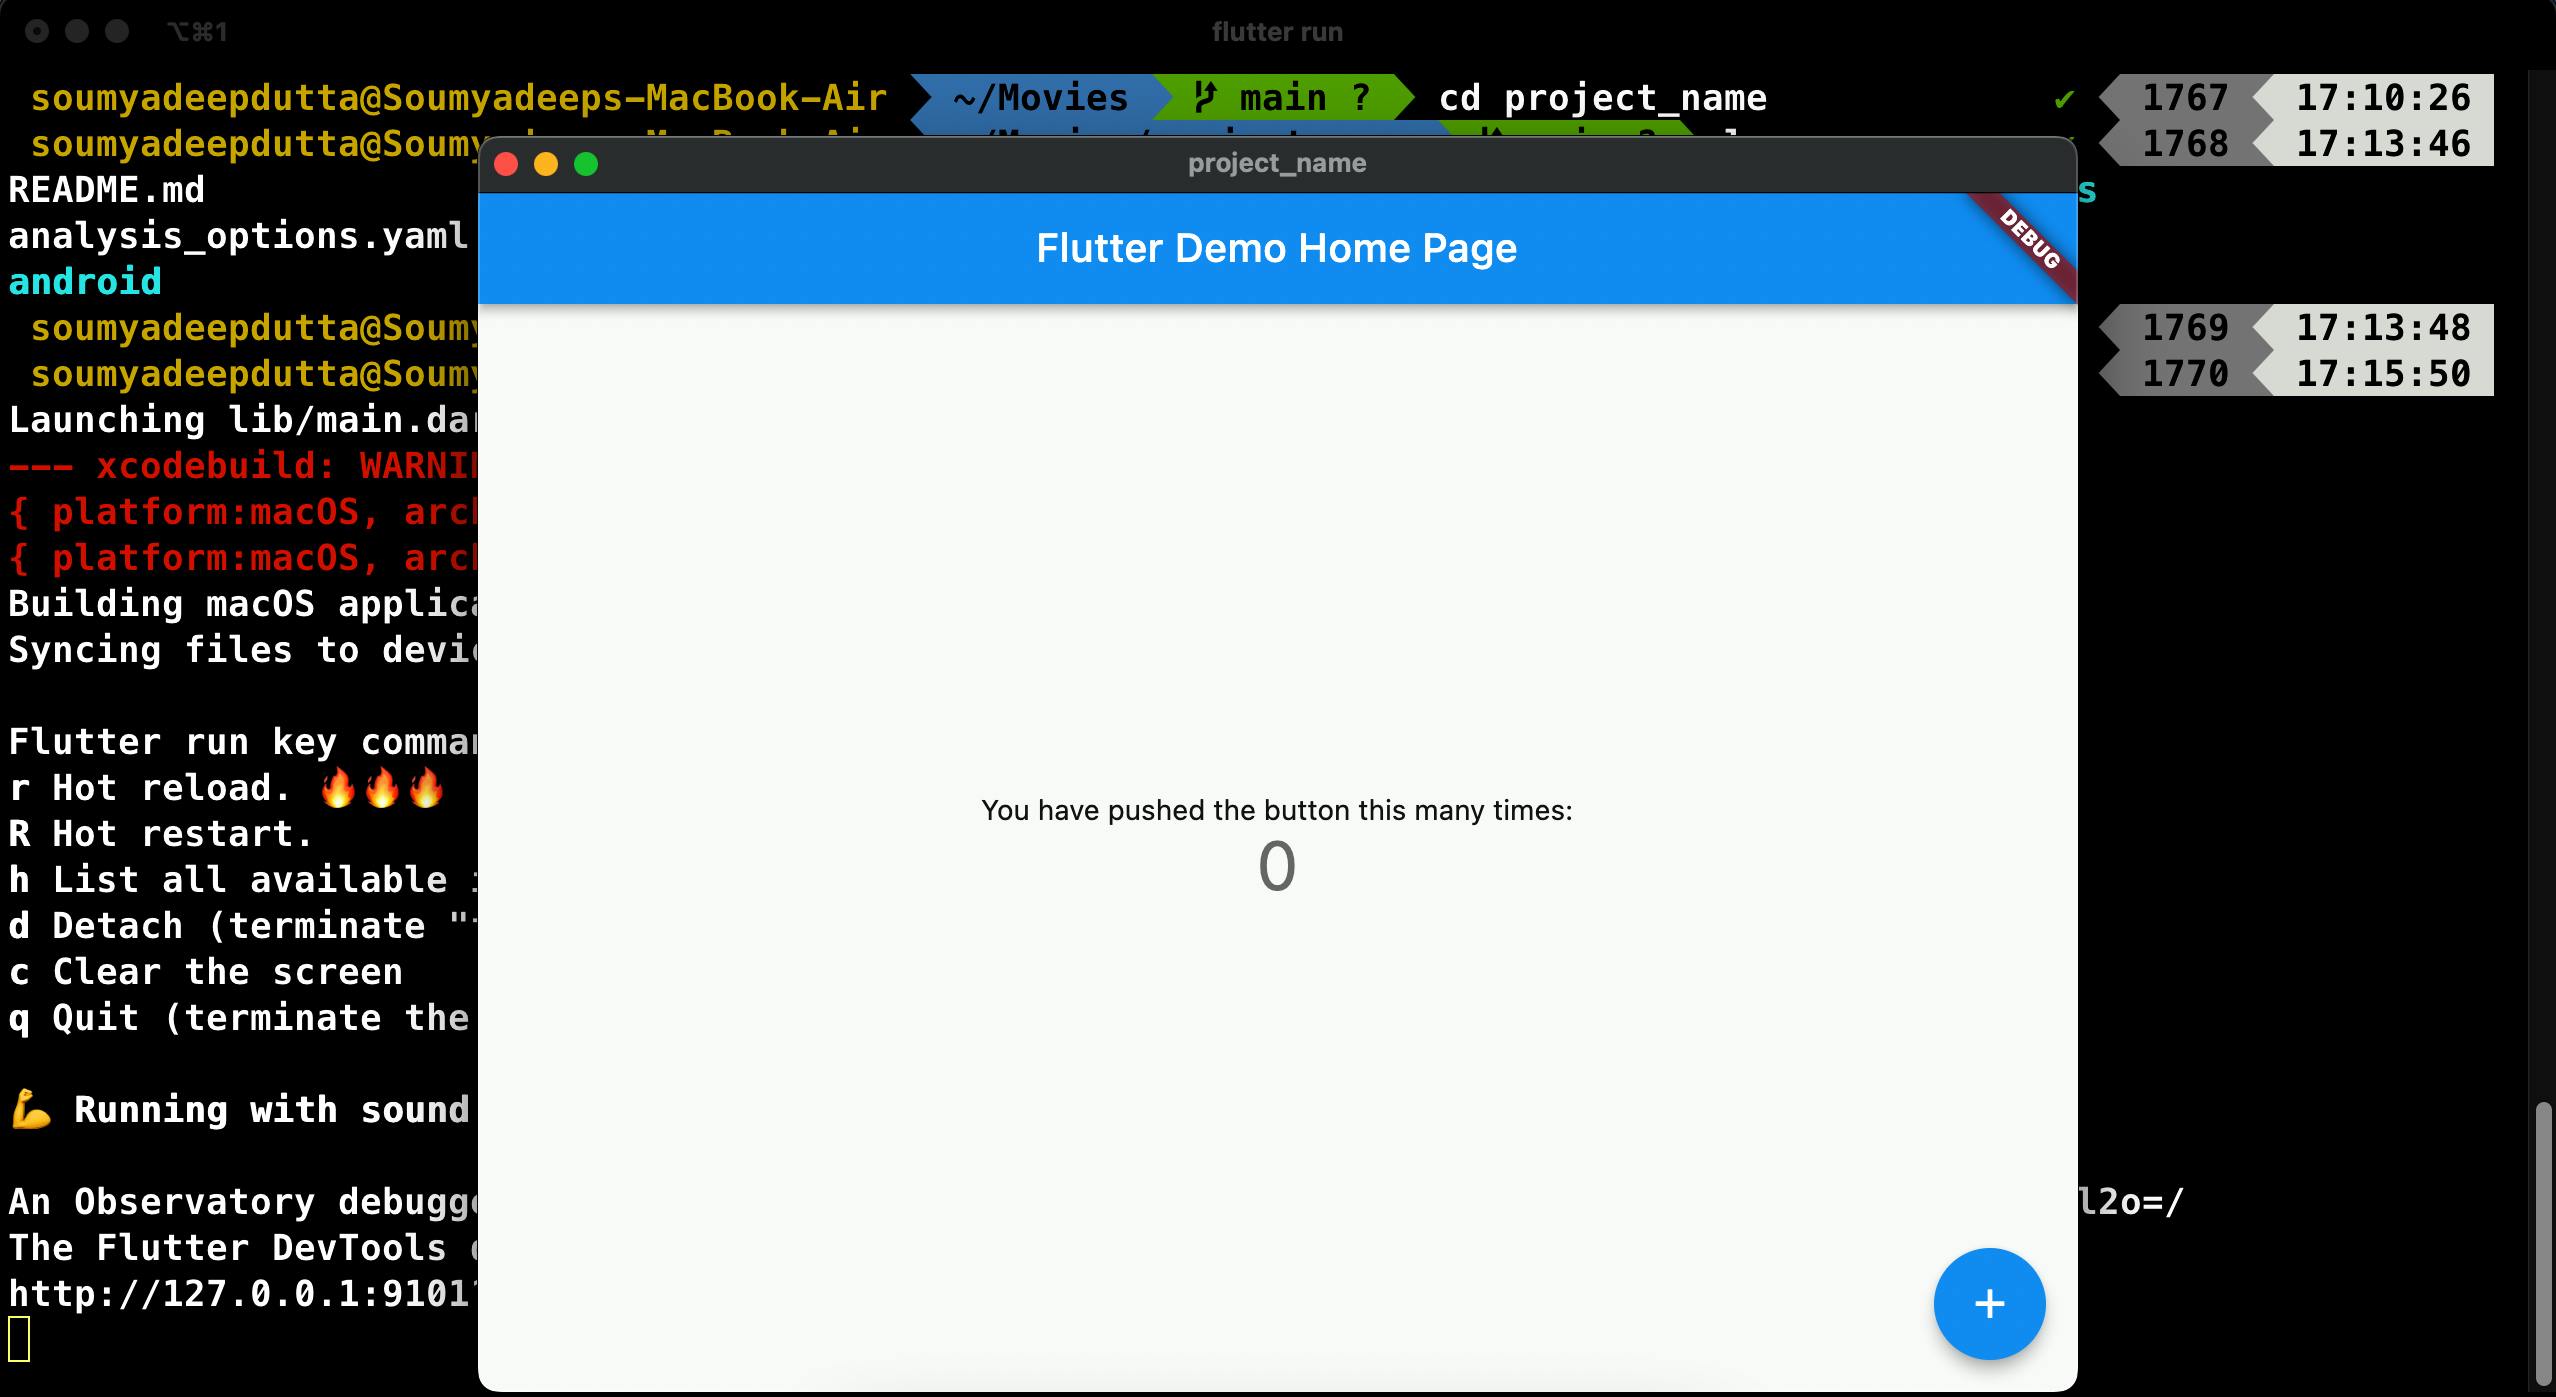
You can change the device by going into the command palette of VS cod CMD + SHIFT + P in macOS and CTRL + SHIFT + P in Windows and then type Flutter: Select device .


Note : You can only select devices if you have downloaded the IOS Simulator and Android Emulators and configured them properly.
Setting up the android emulator
Step 1 :
As mentioned earlier you need to download Android Studios. After you have done that open Android Studios and do the basic setup.
Step 2 :
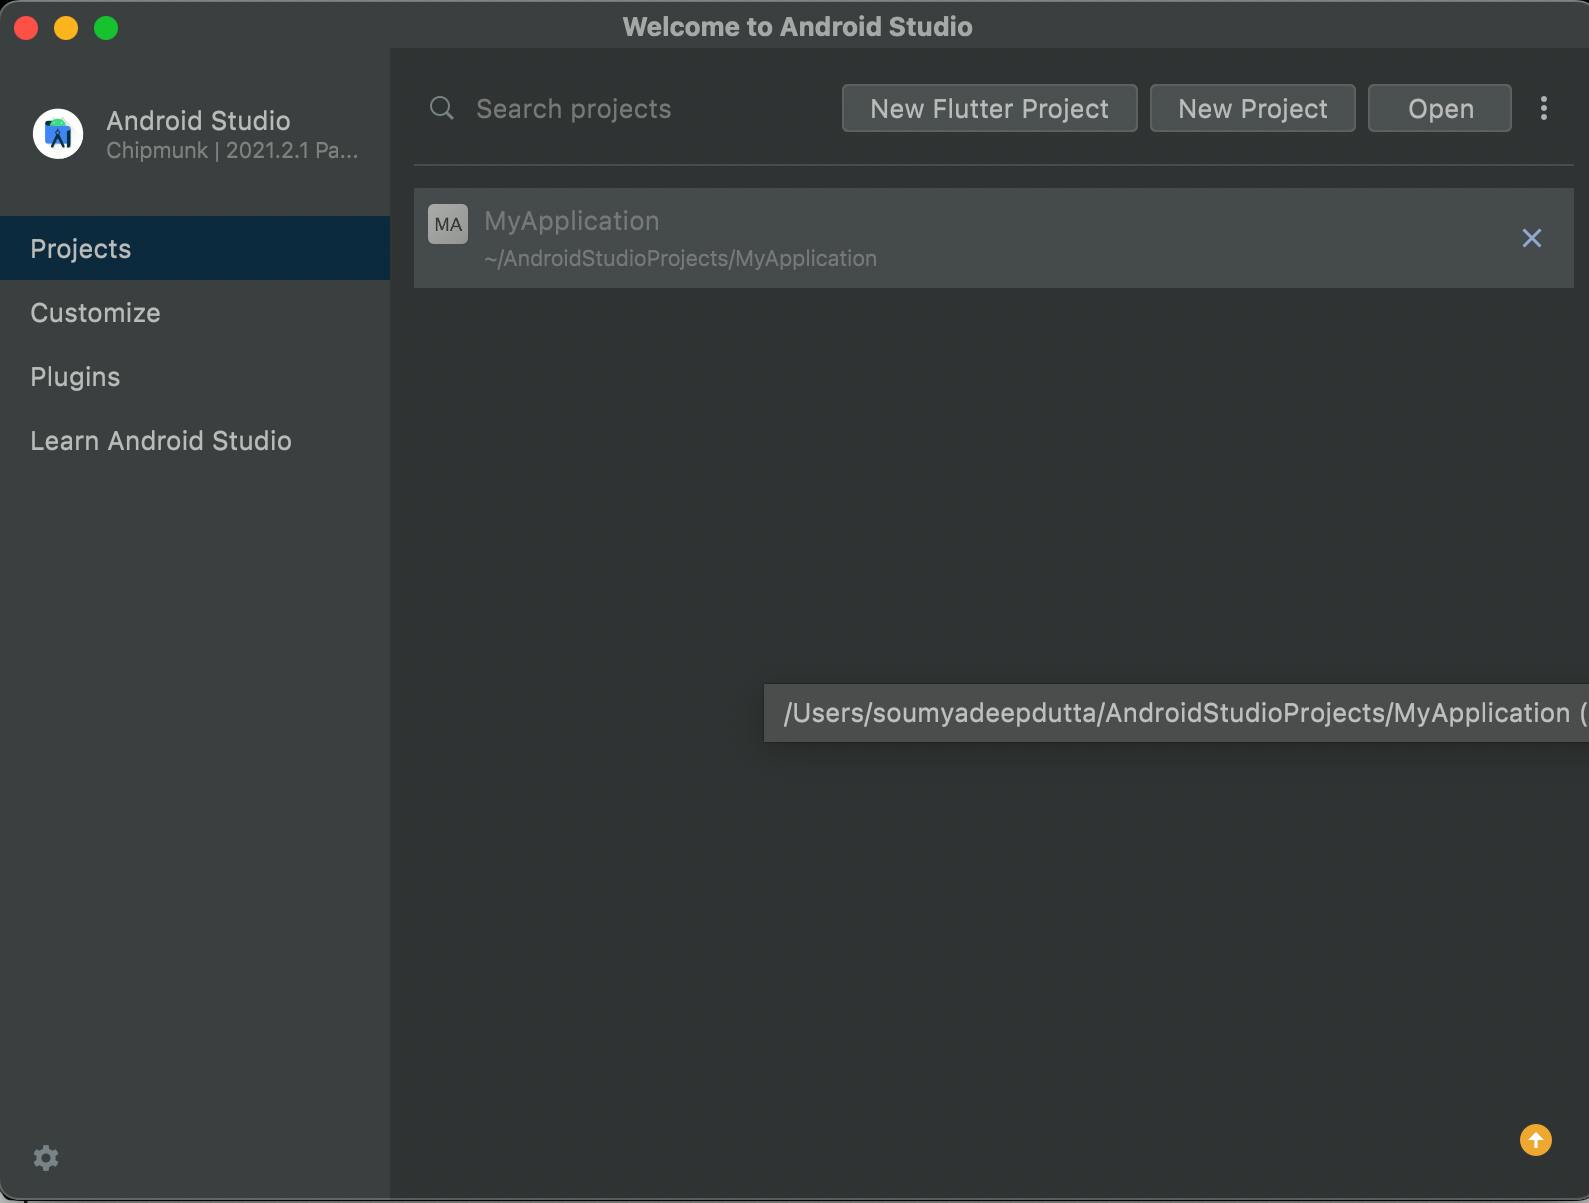
Click on the three dots in the top right corner.
Step 3 :
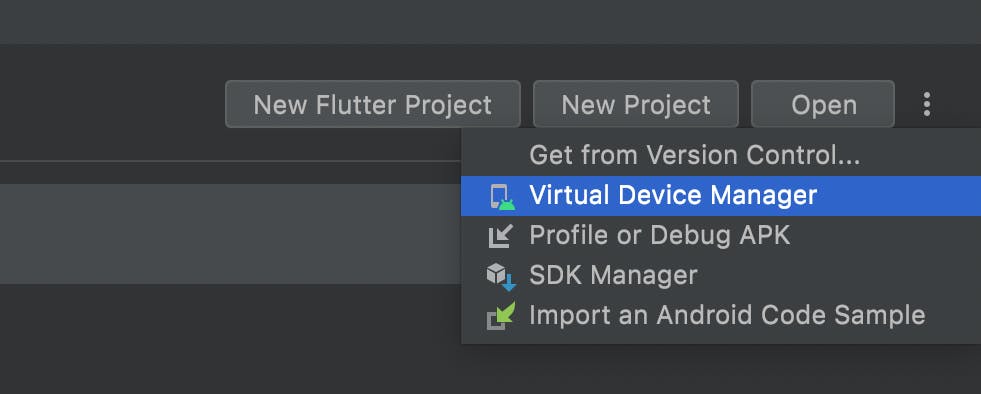
Select Virtual Device Manager.
Step 4 :
Click on Create device

Step 5 :
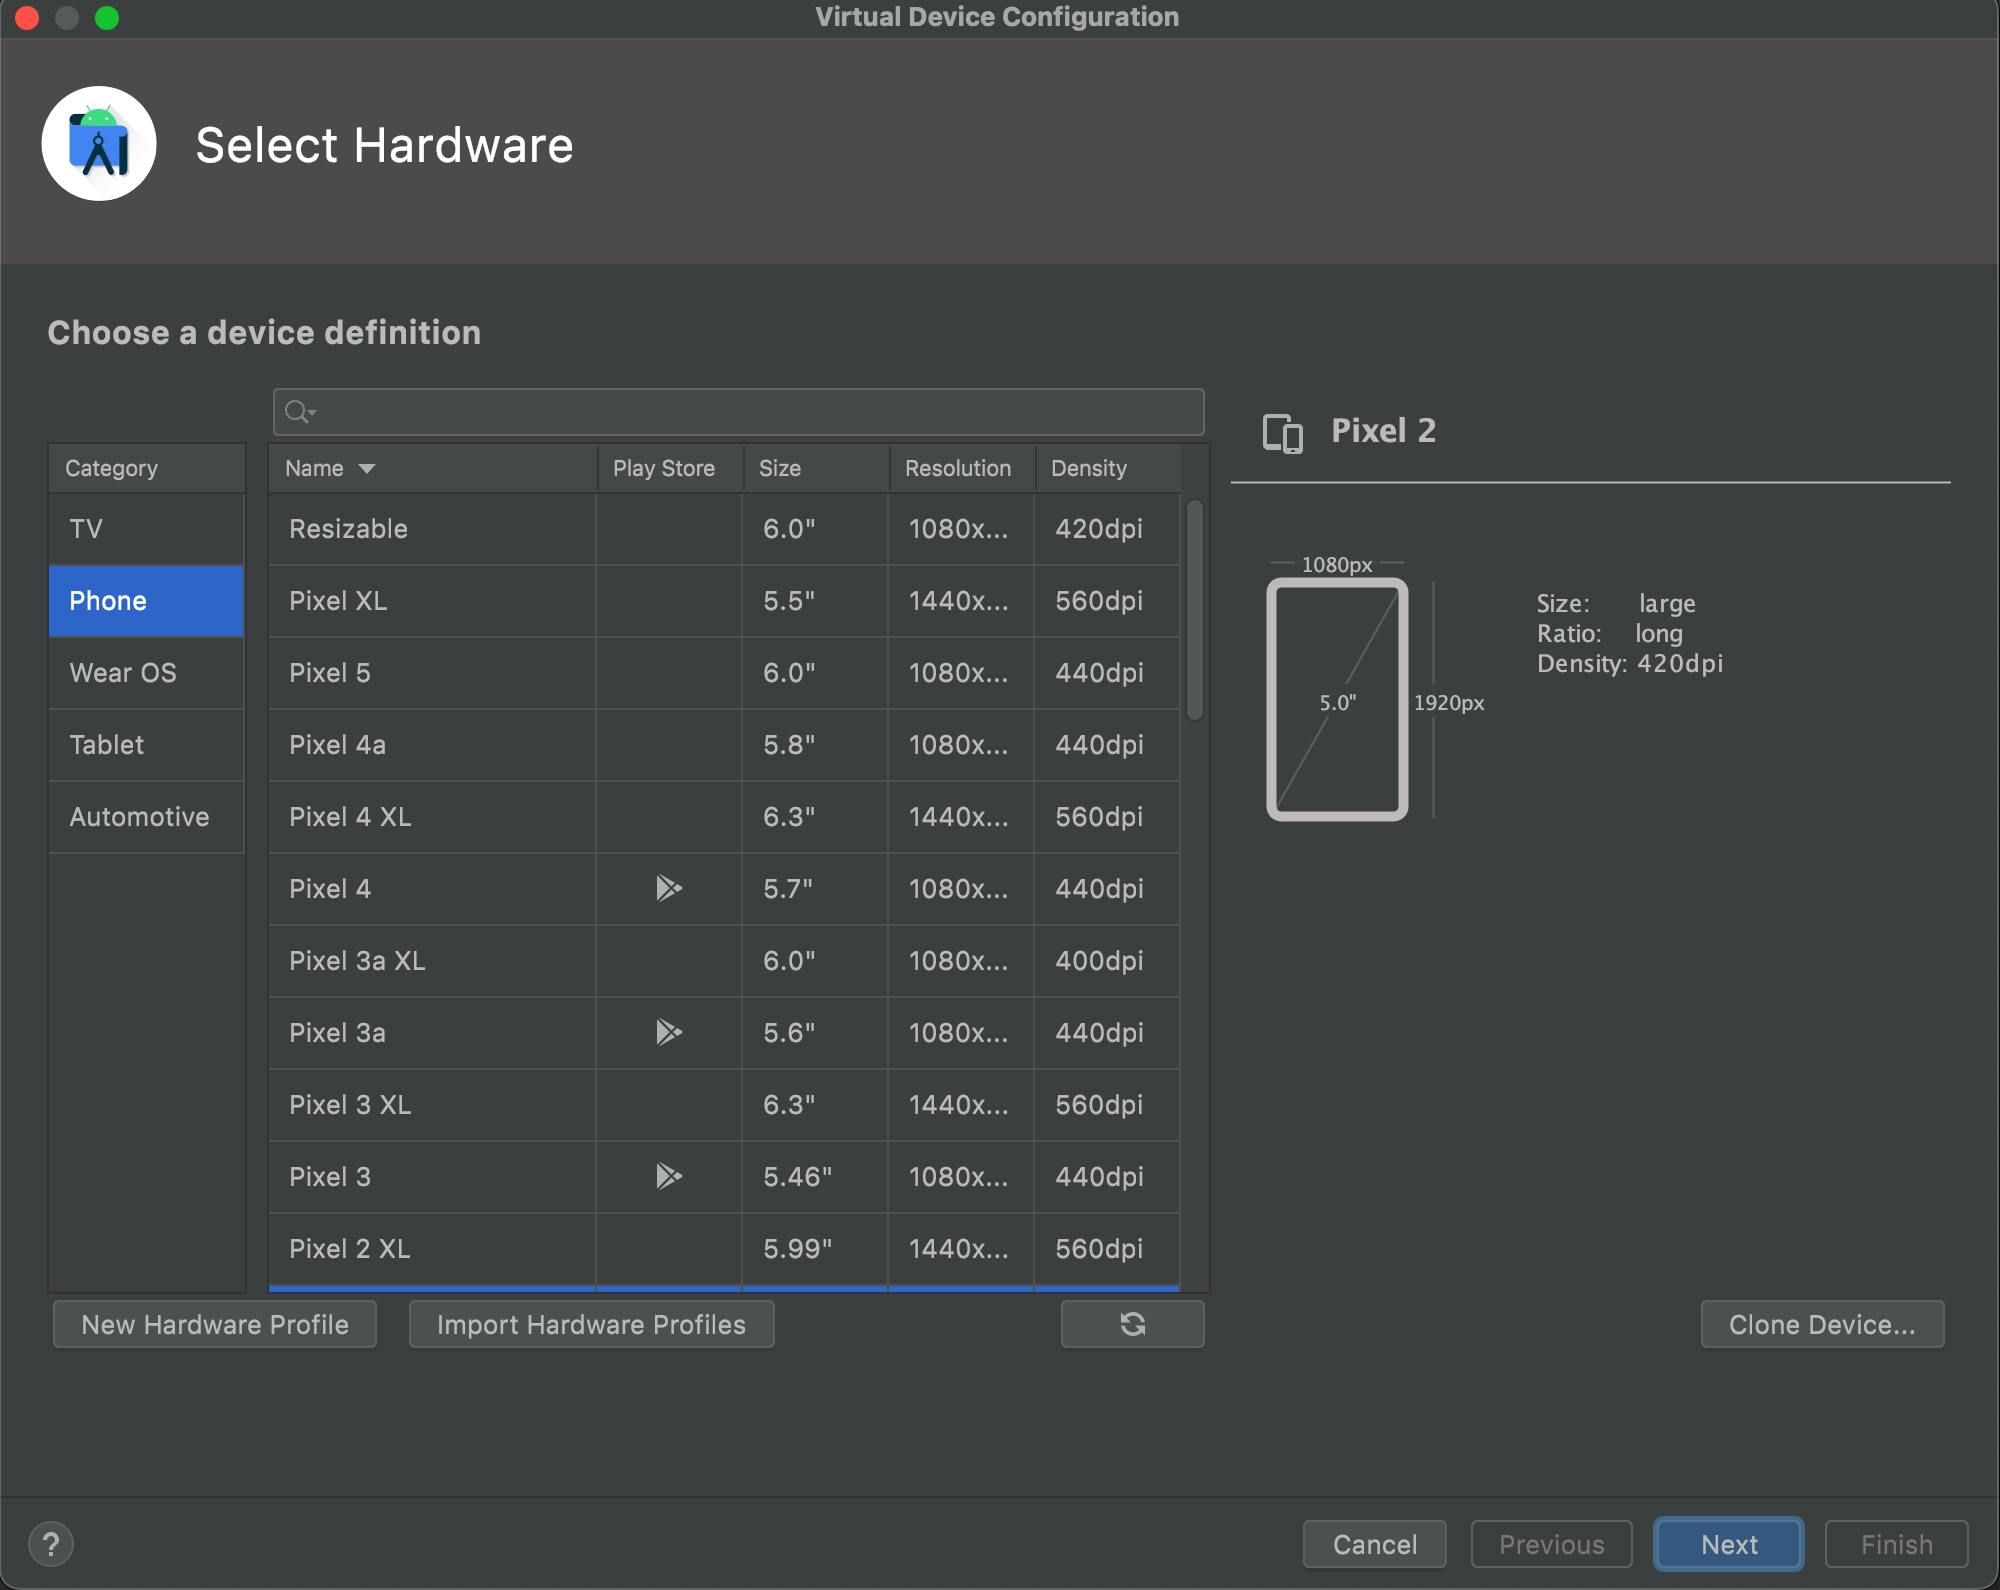
Here, you can select the hardware of the emulator. In the Category you can select the device you want to use. We are working with android so we will choose phone.
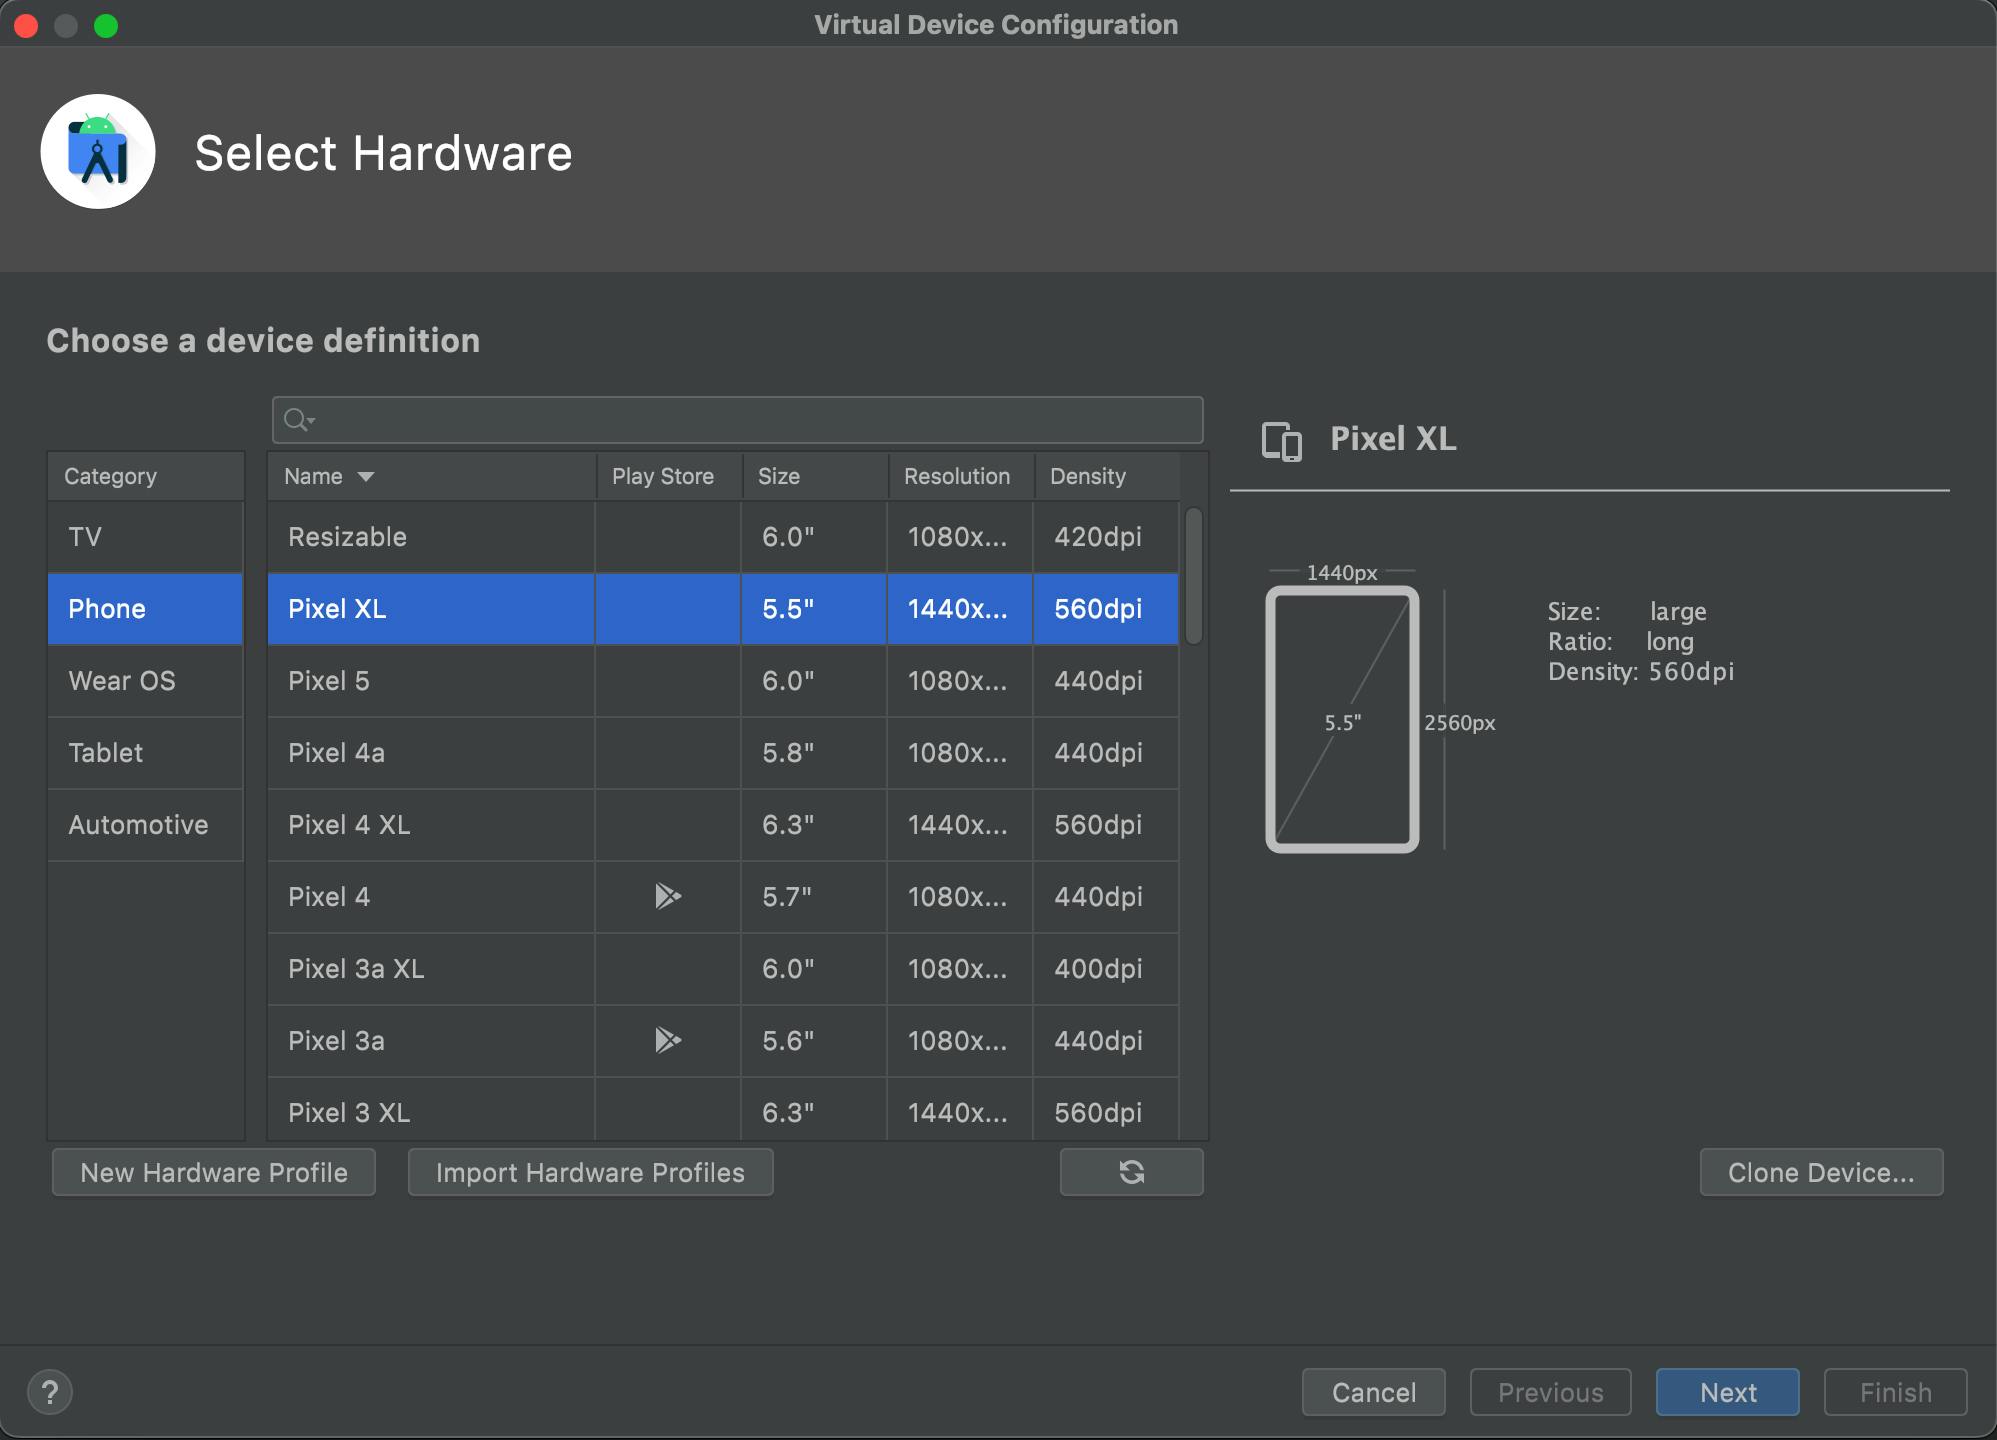
Let us choose Pixel XL and then we will hit next.
Step 6 :
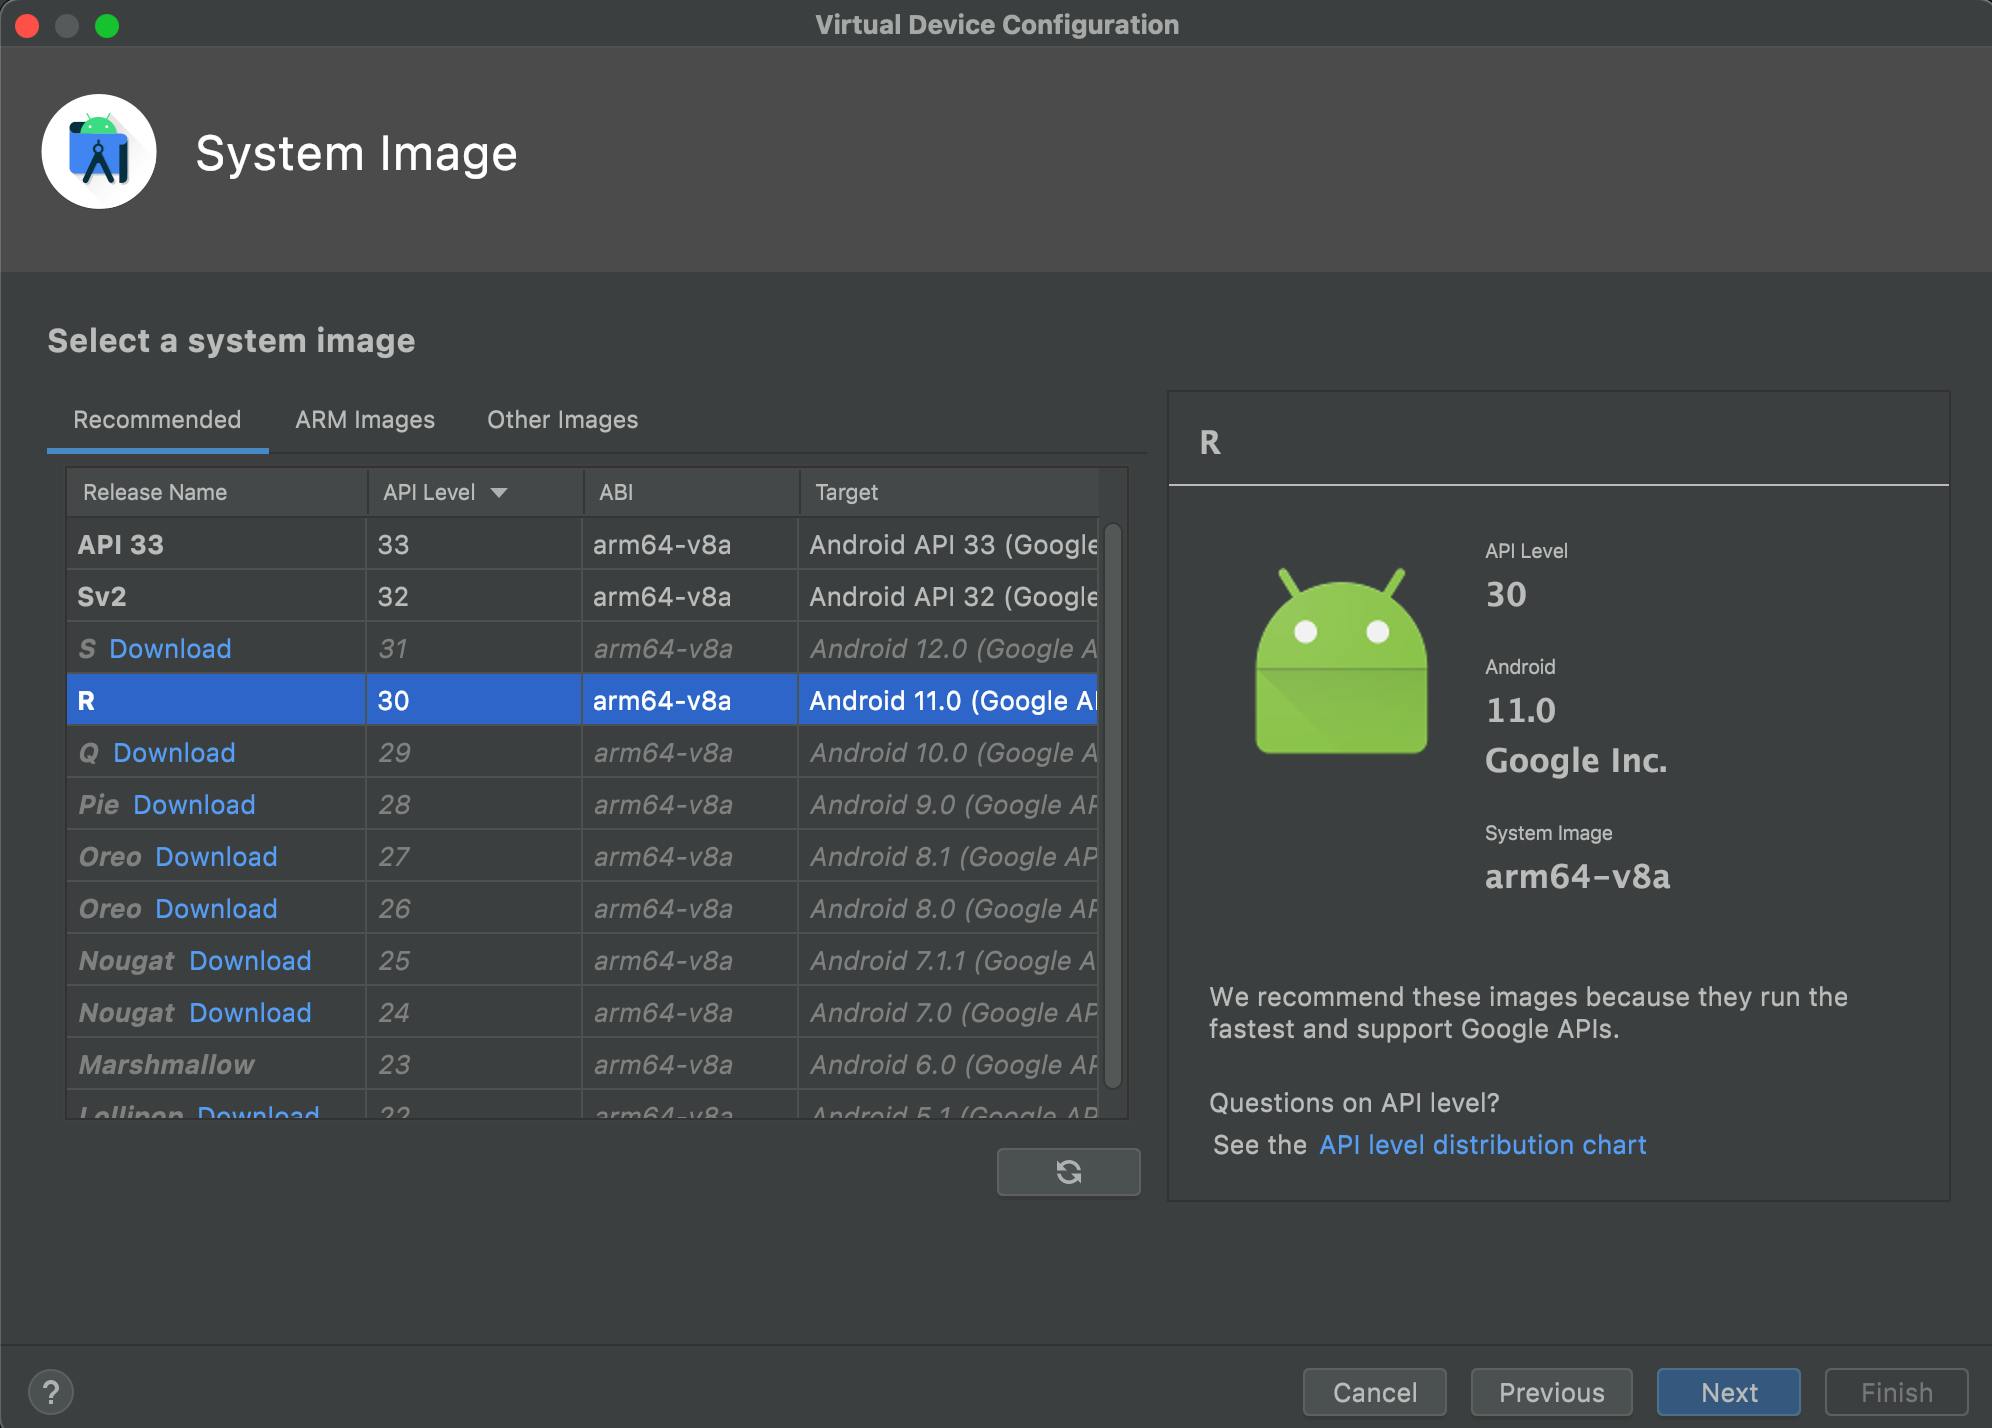
Here we need to select a system image. You can use the recommended one but I will use R.
Tip : Don't select the latest release because every device might not have it. Always choose a little old release which will make sure your app will run in most devices.
After you have selected the system image you can hit next.
Step 7 :
The final step is to Verify Configuration. I will recommended to keep it as it is. Make changes only if it is necessary. After you are done, hit finish.

and CONGRATULATIONS 🎉!!! You have successfully created an Android Emulator.
Now we created the Emulator and also we know how to run the emulator so what are you waiting for? Lets run the app.
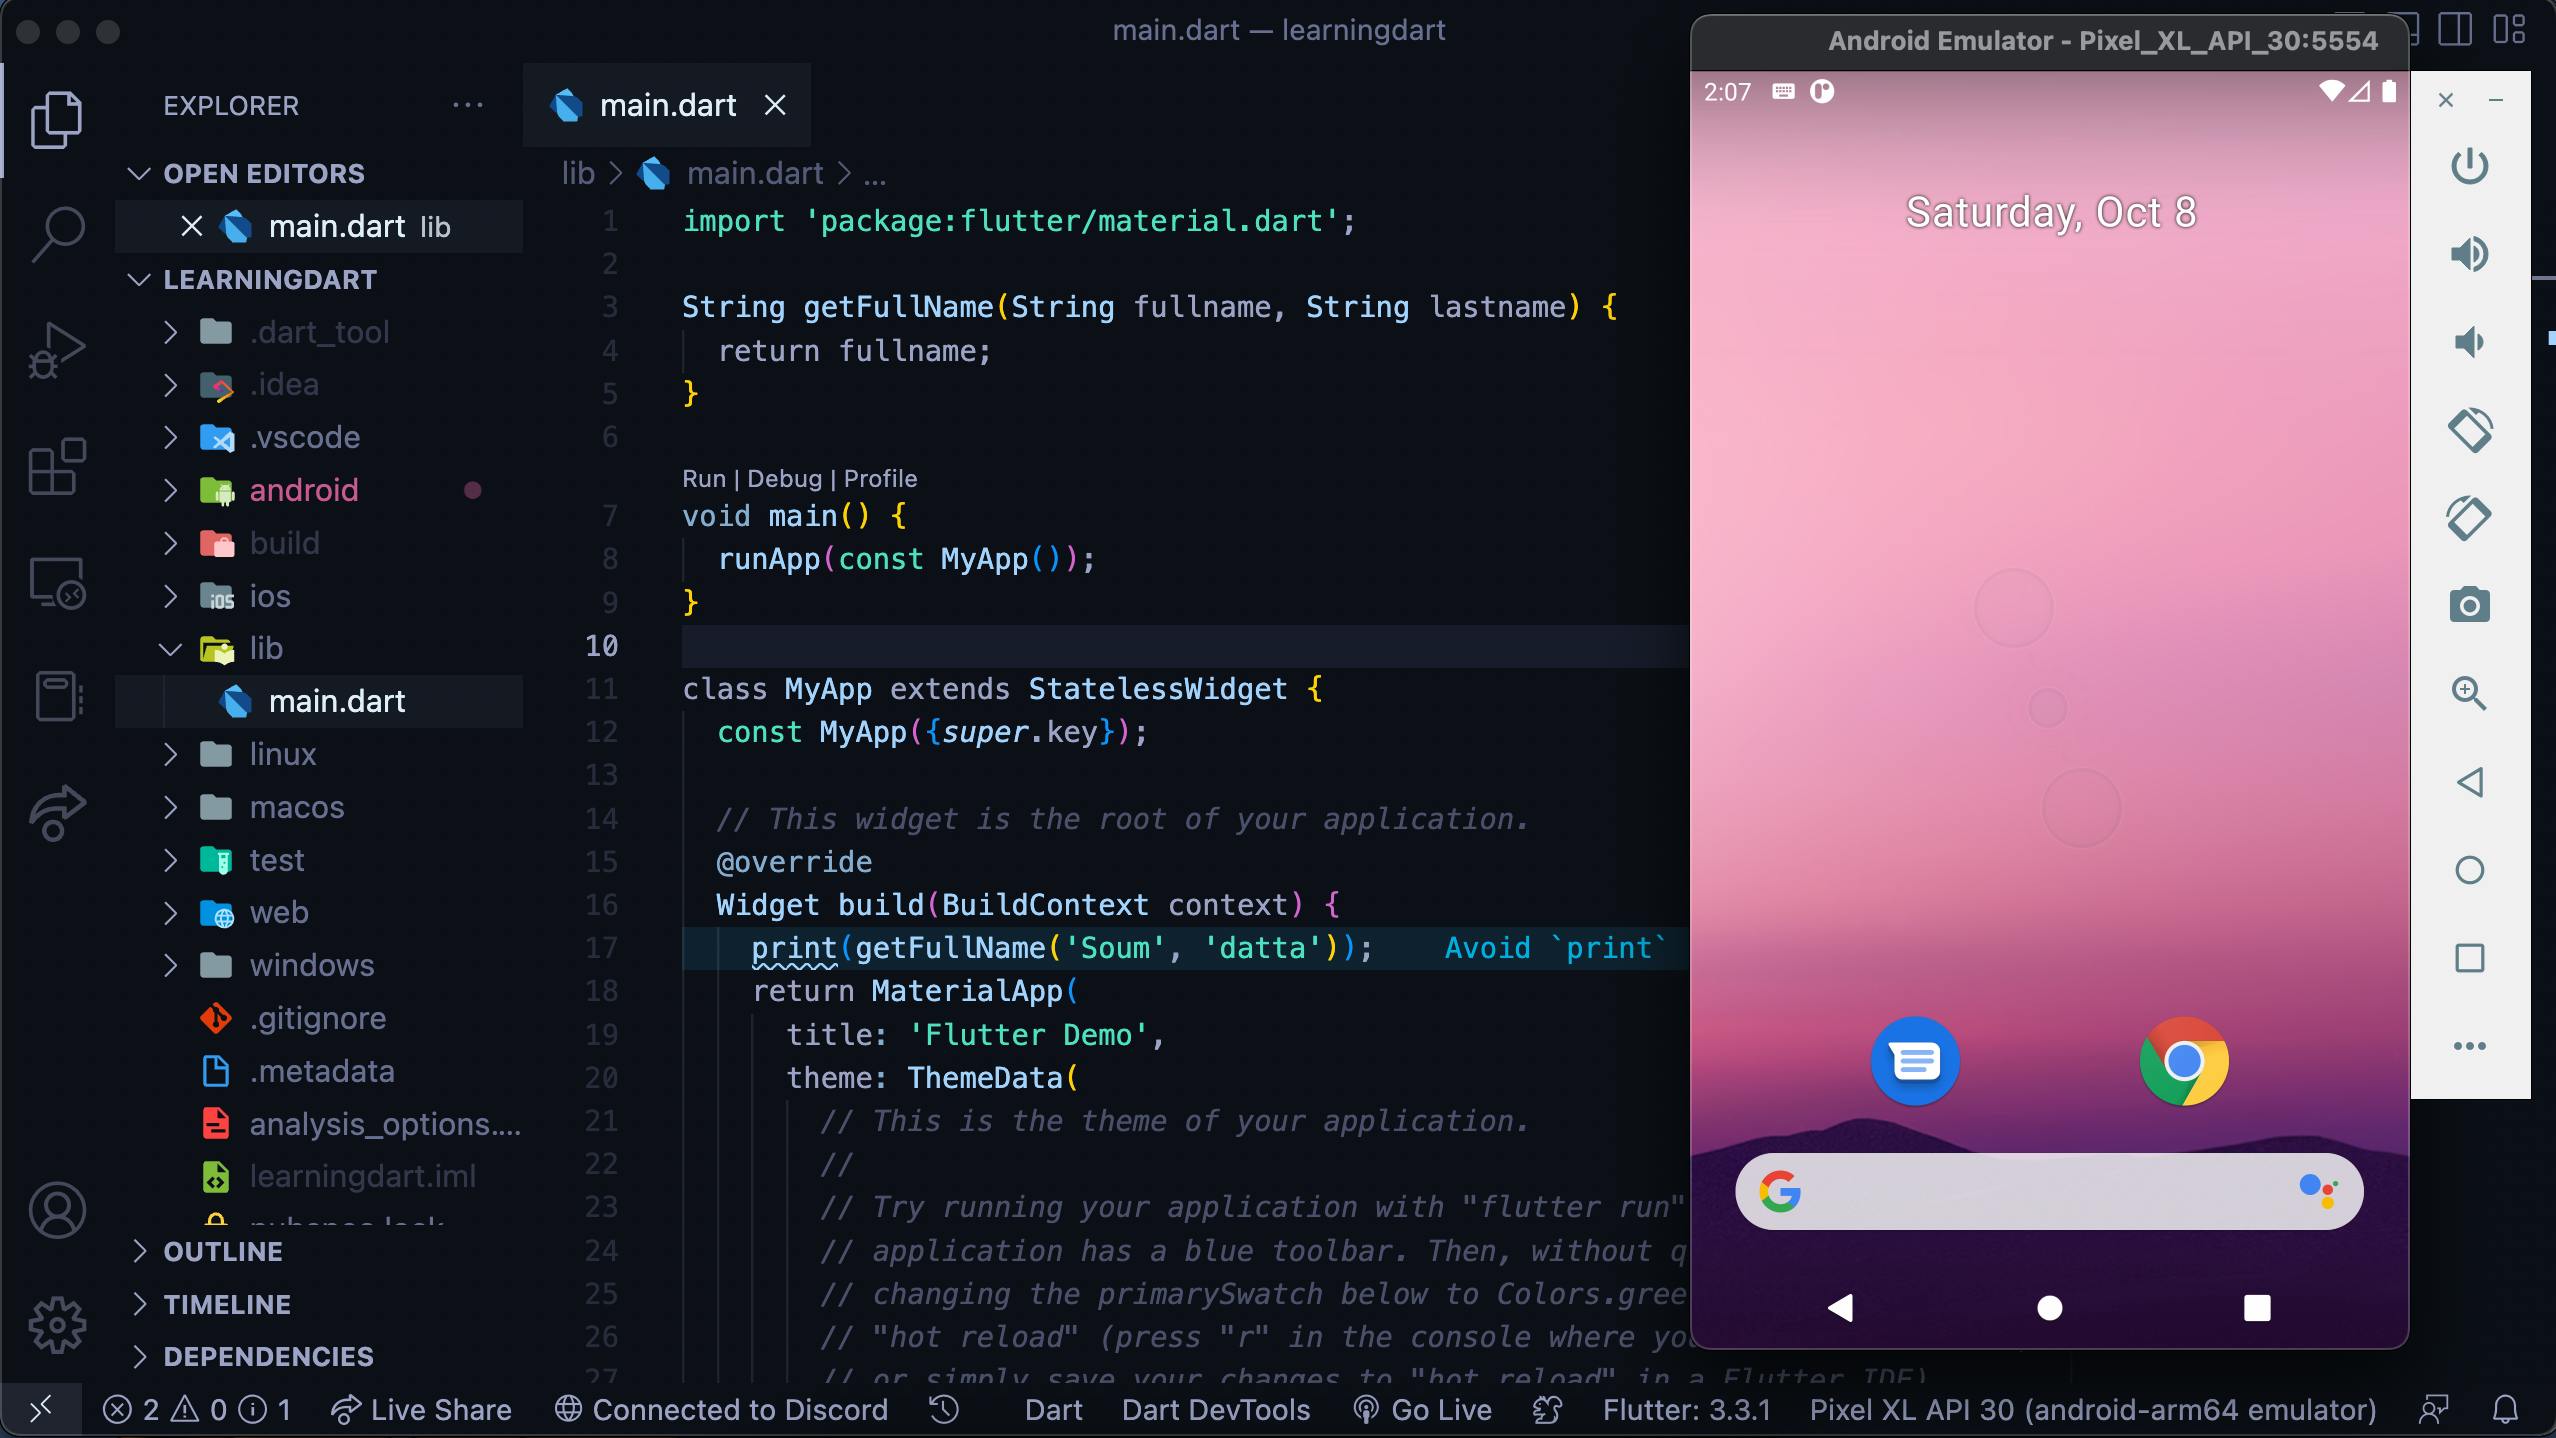
So, our emulator is working fine. Lets run the flutter app
Here is our app
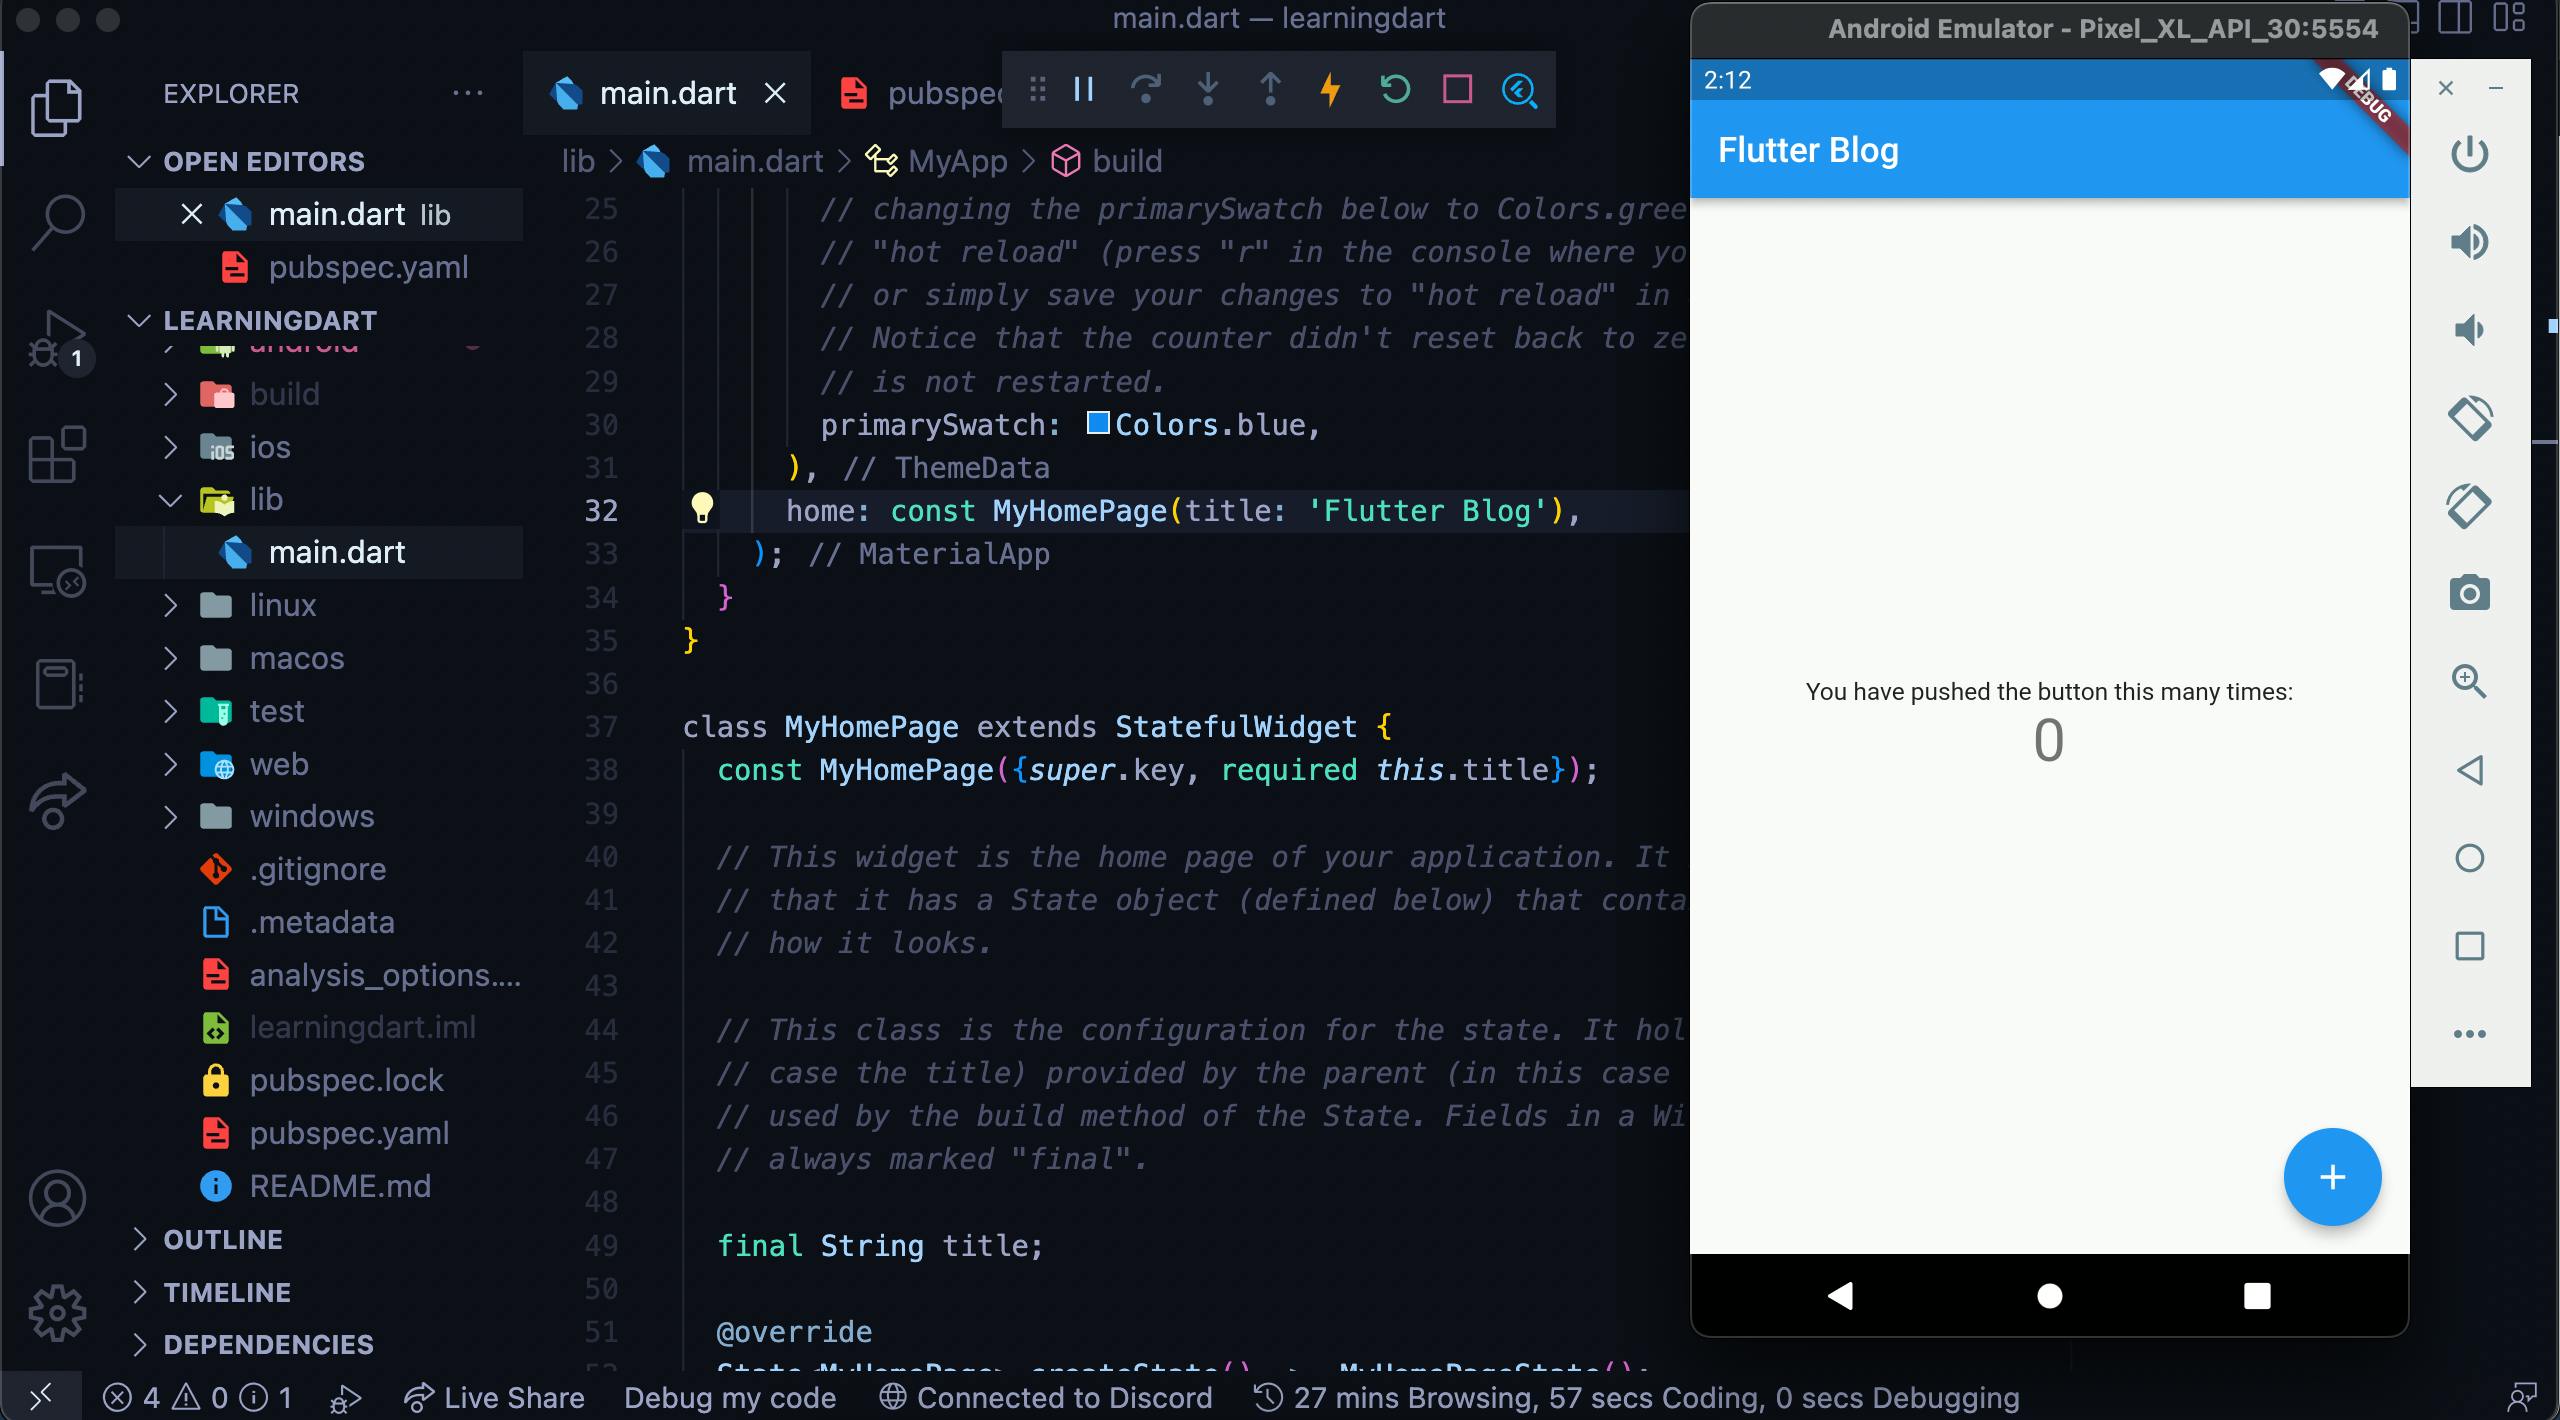
And its working as expected
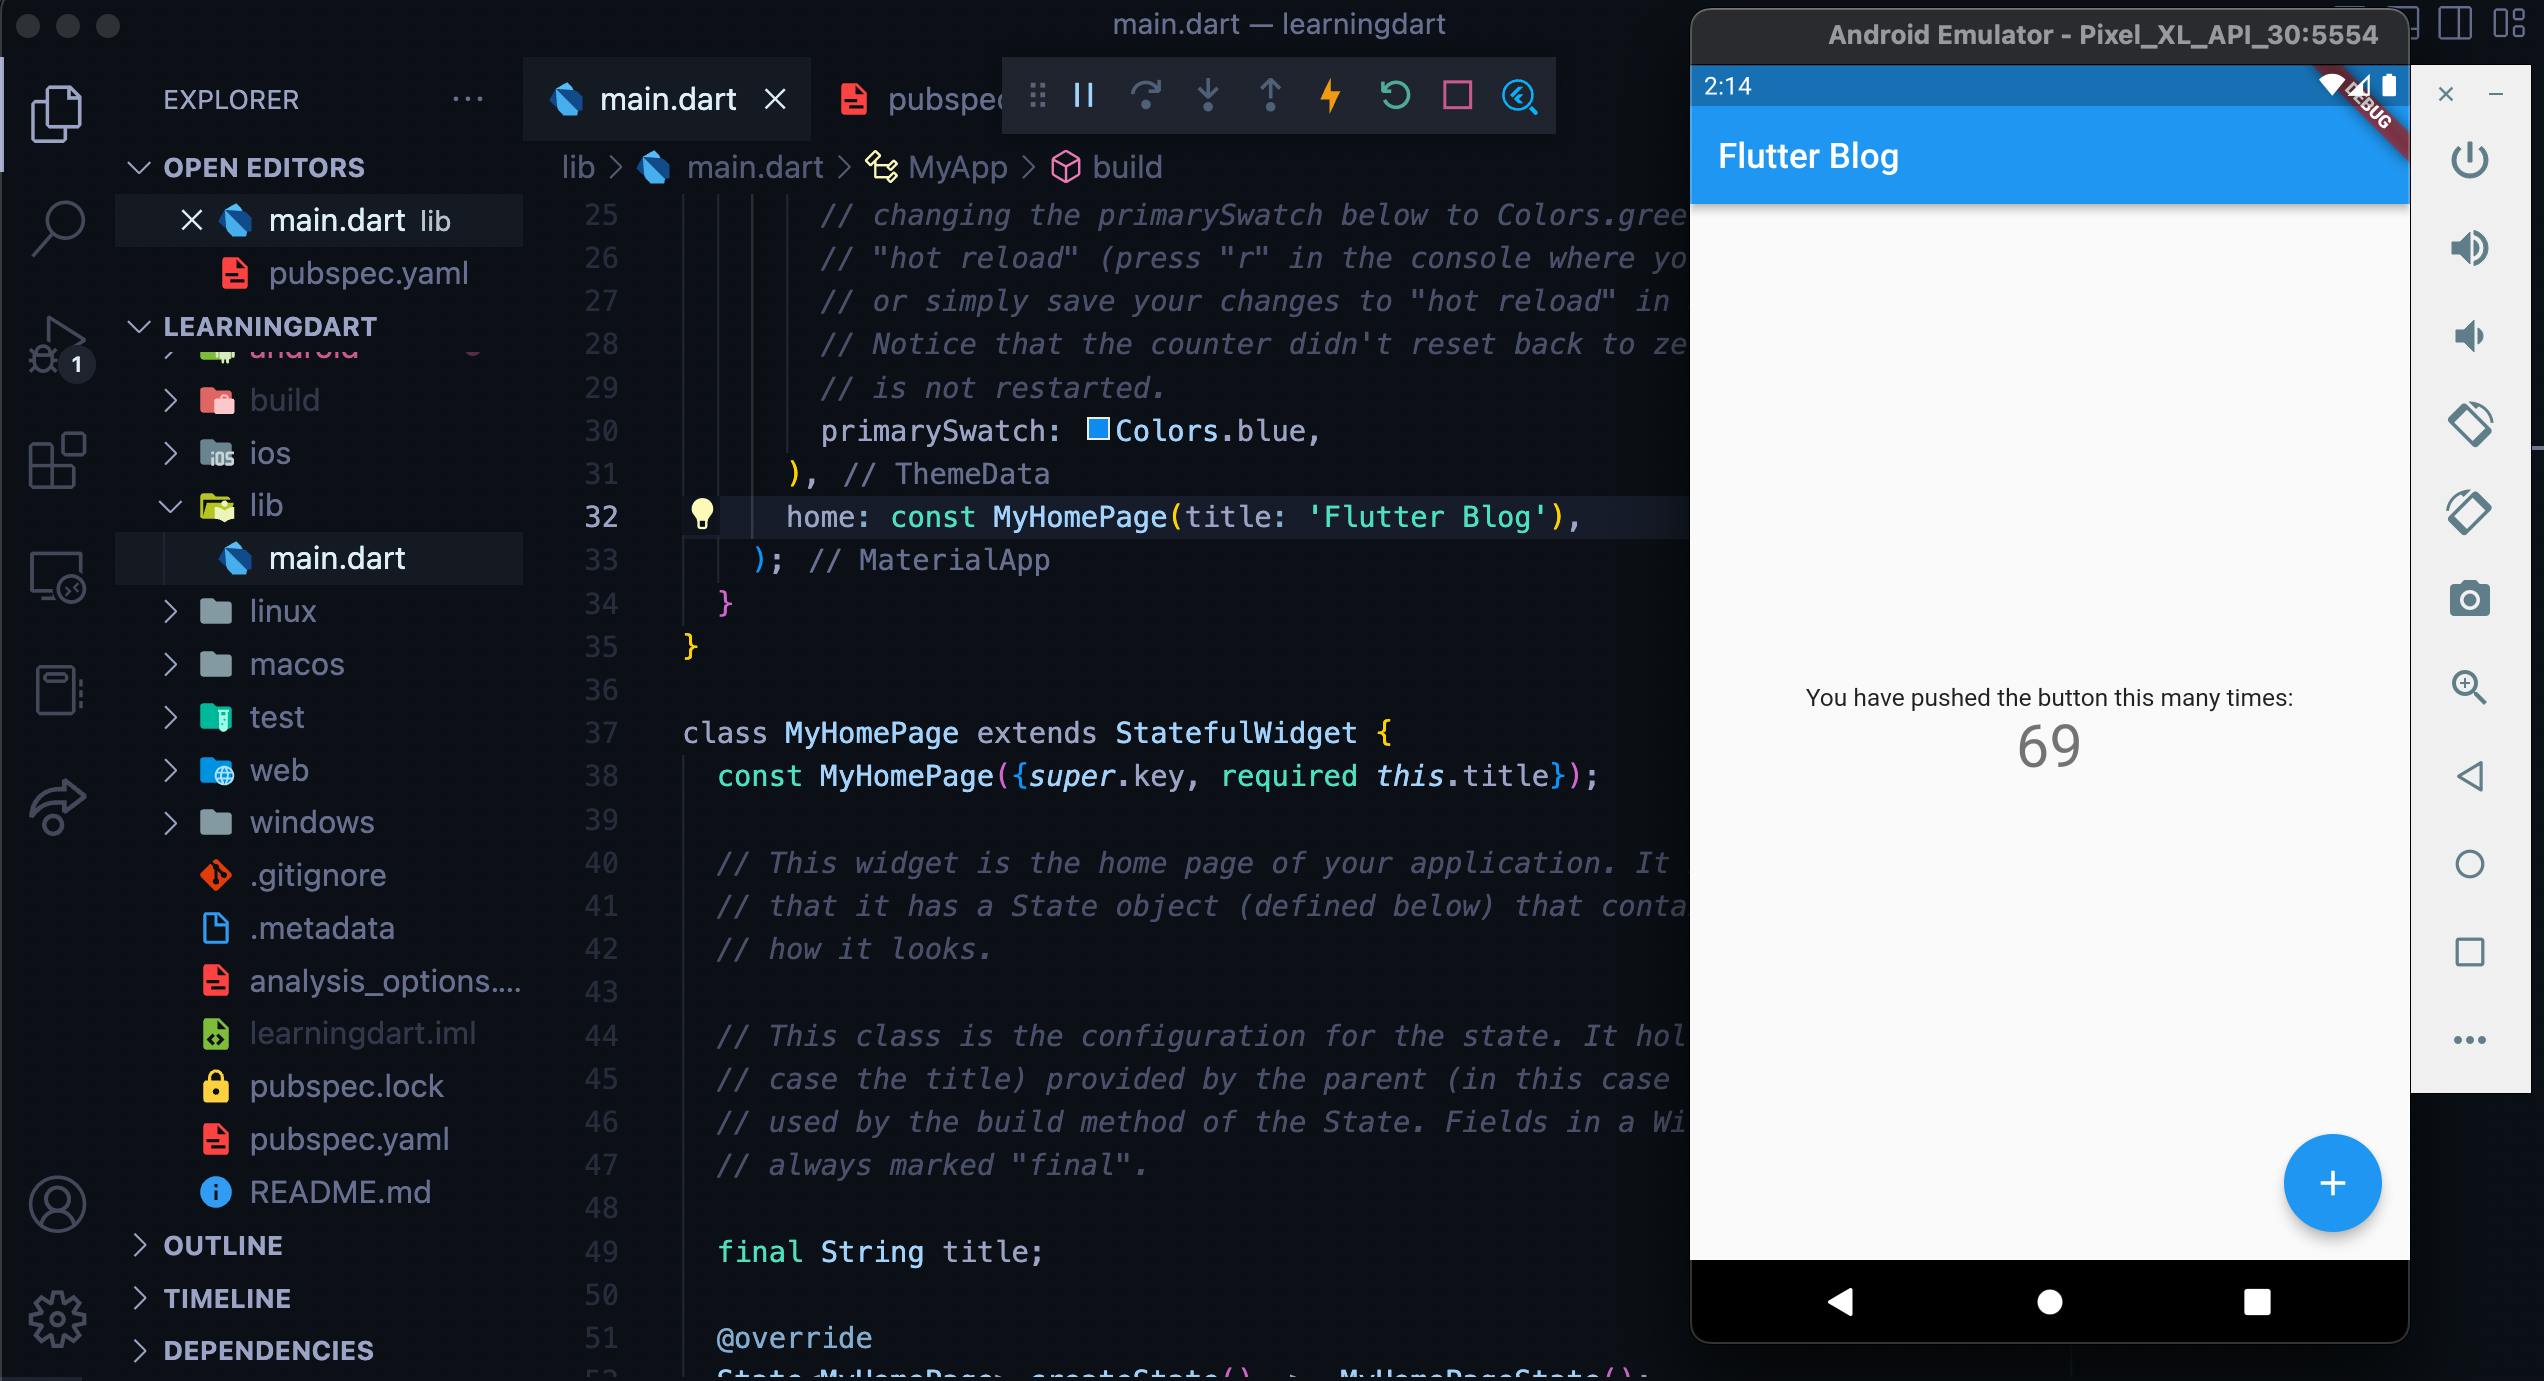
and as for IOS Simulator it comes with Xcode so you don't need to download it separately. Just select and run from VS Code.

and this also works as expected
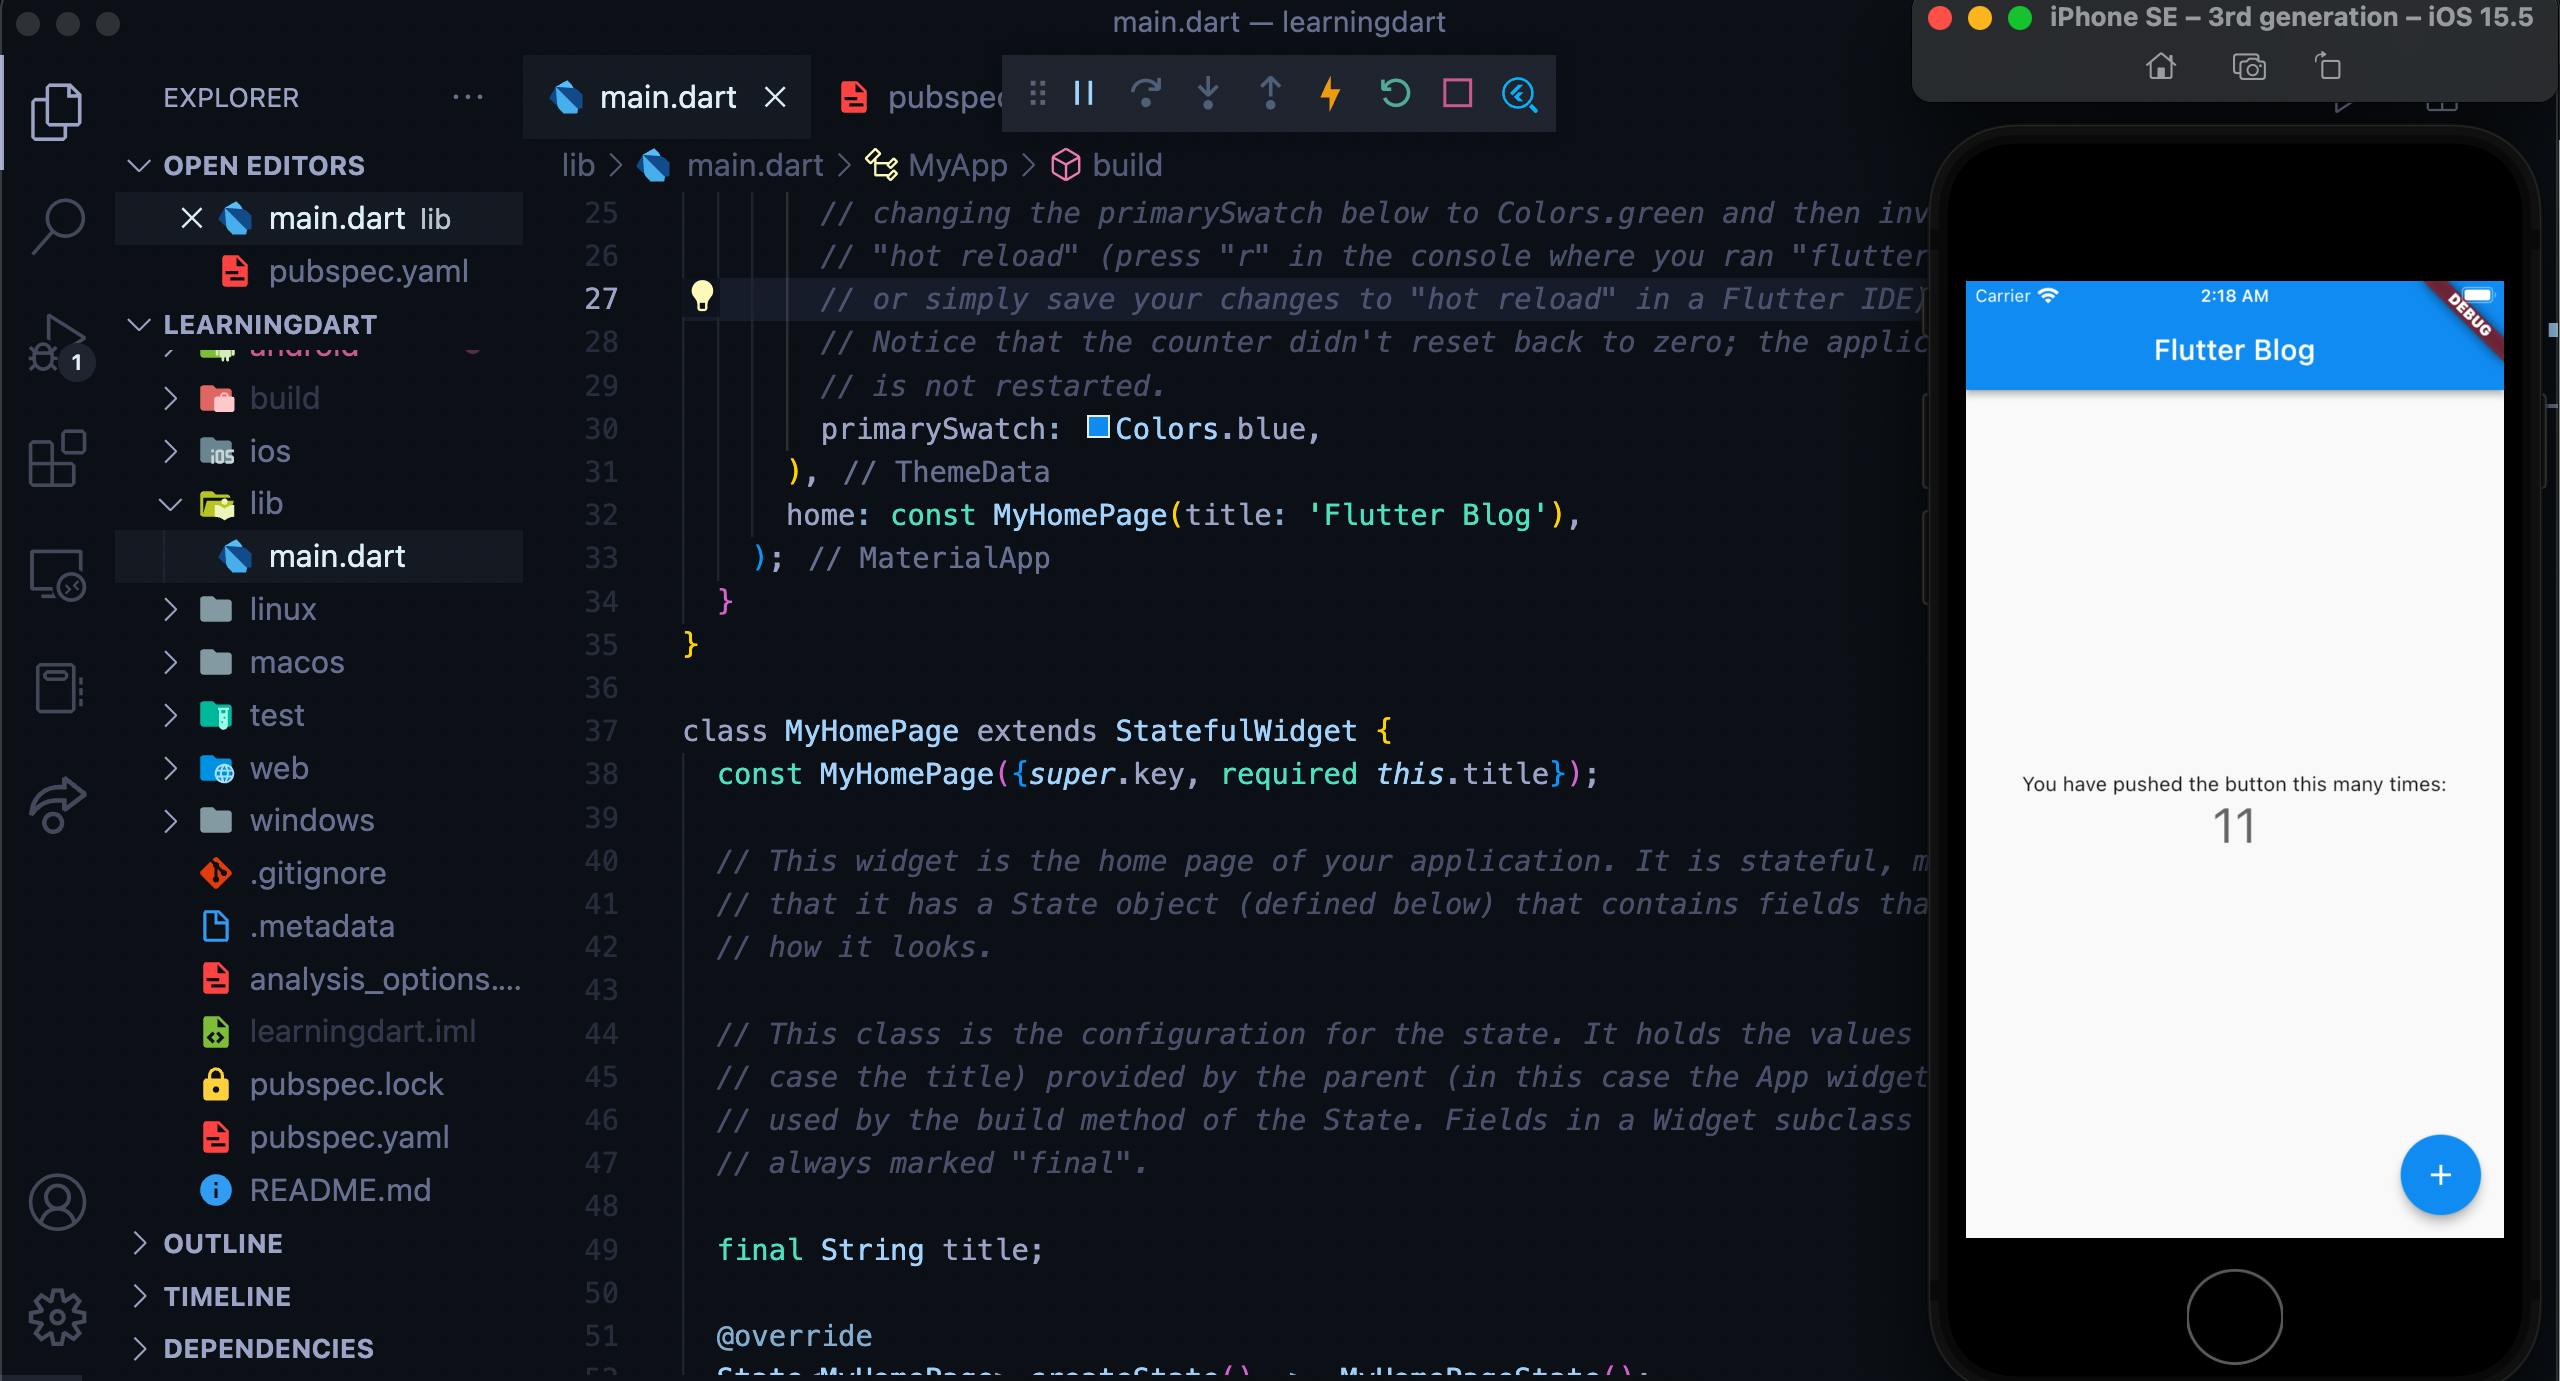
Conclusion :
First of all if you reached till the end then CONGRATULATIONS 🎉!!! Secondly, let us see what we did : We have downloaded the required softwares, configured them, got used to the terminal, ran flutter, created emulators and also executed the app! Ahh I see we did so many amazing things. Well, now good luck for your flutter journey and keep making awesome apps.
You can connect with me in Twitter
